
PHASE II : Drivetrain & Mechanics
The car needed to move under it’s own power across a stage with (4) actors aboard. It needed to be highly maneuverable. It needed wings that opened and closed. It needed to to have flotation pontoons that attached to the sides. It needed to move up and down lifting the over 700lbs of car and actors. It needed to have remote controlled lights & sound effects as well as tailpipe smoke and moving wheels. But most importantly…it had to look like Chitty!
So the next step was figuring out the mechanics of how I could accomplish this feat.
DRIVETRAIN
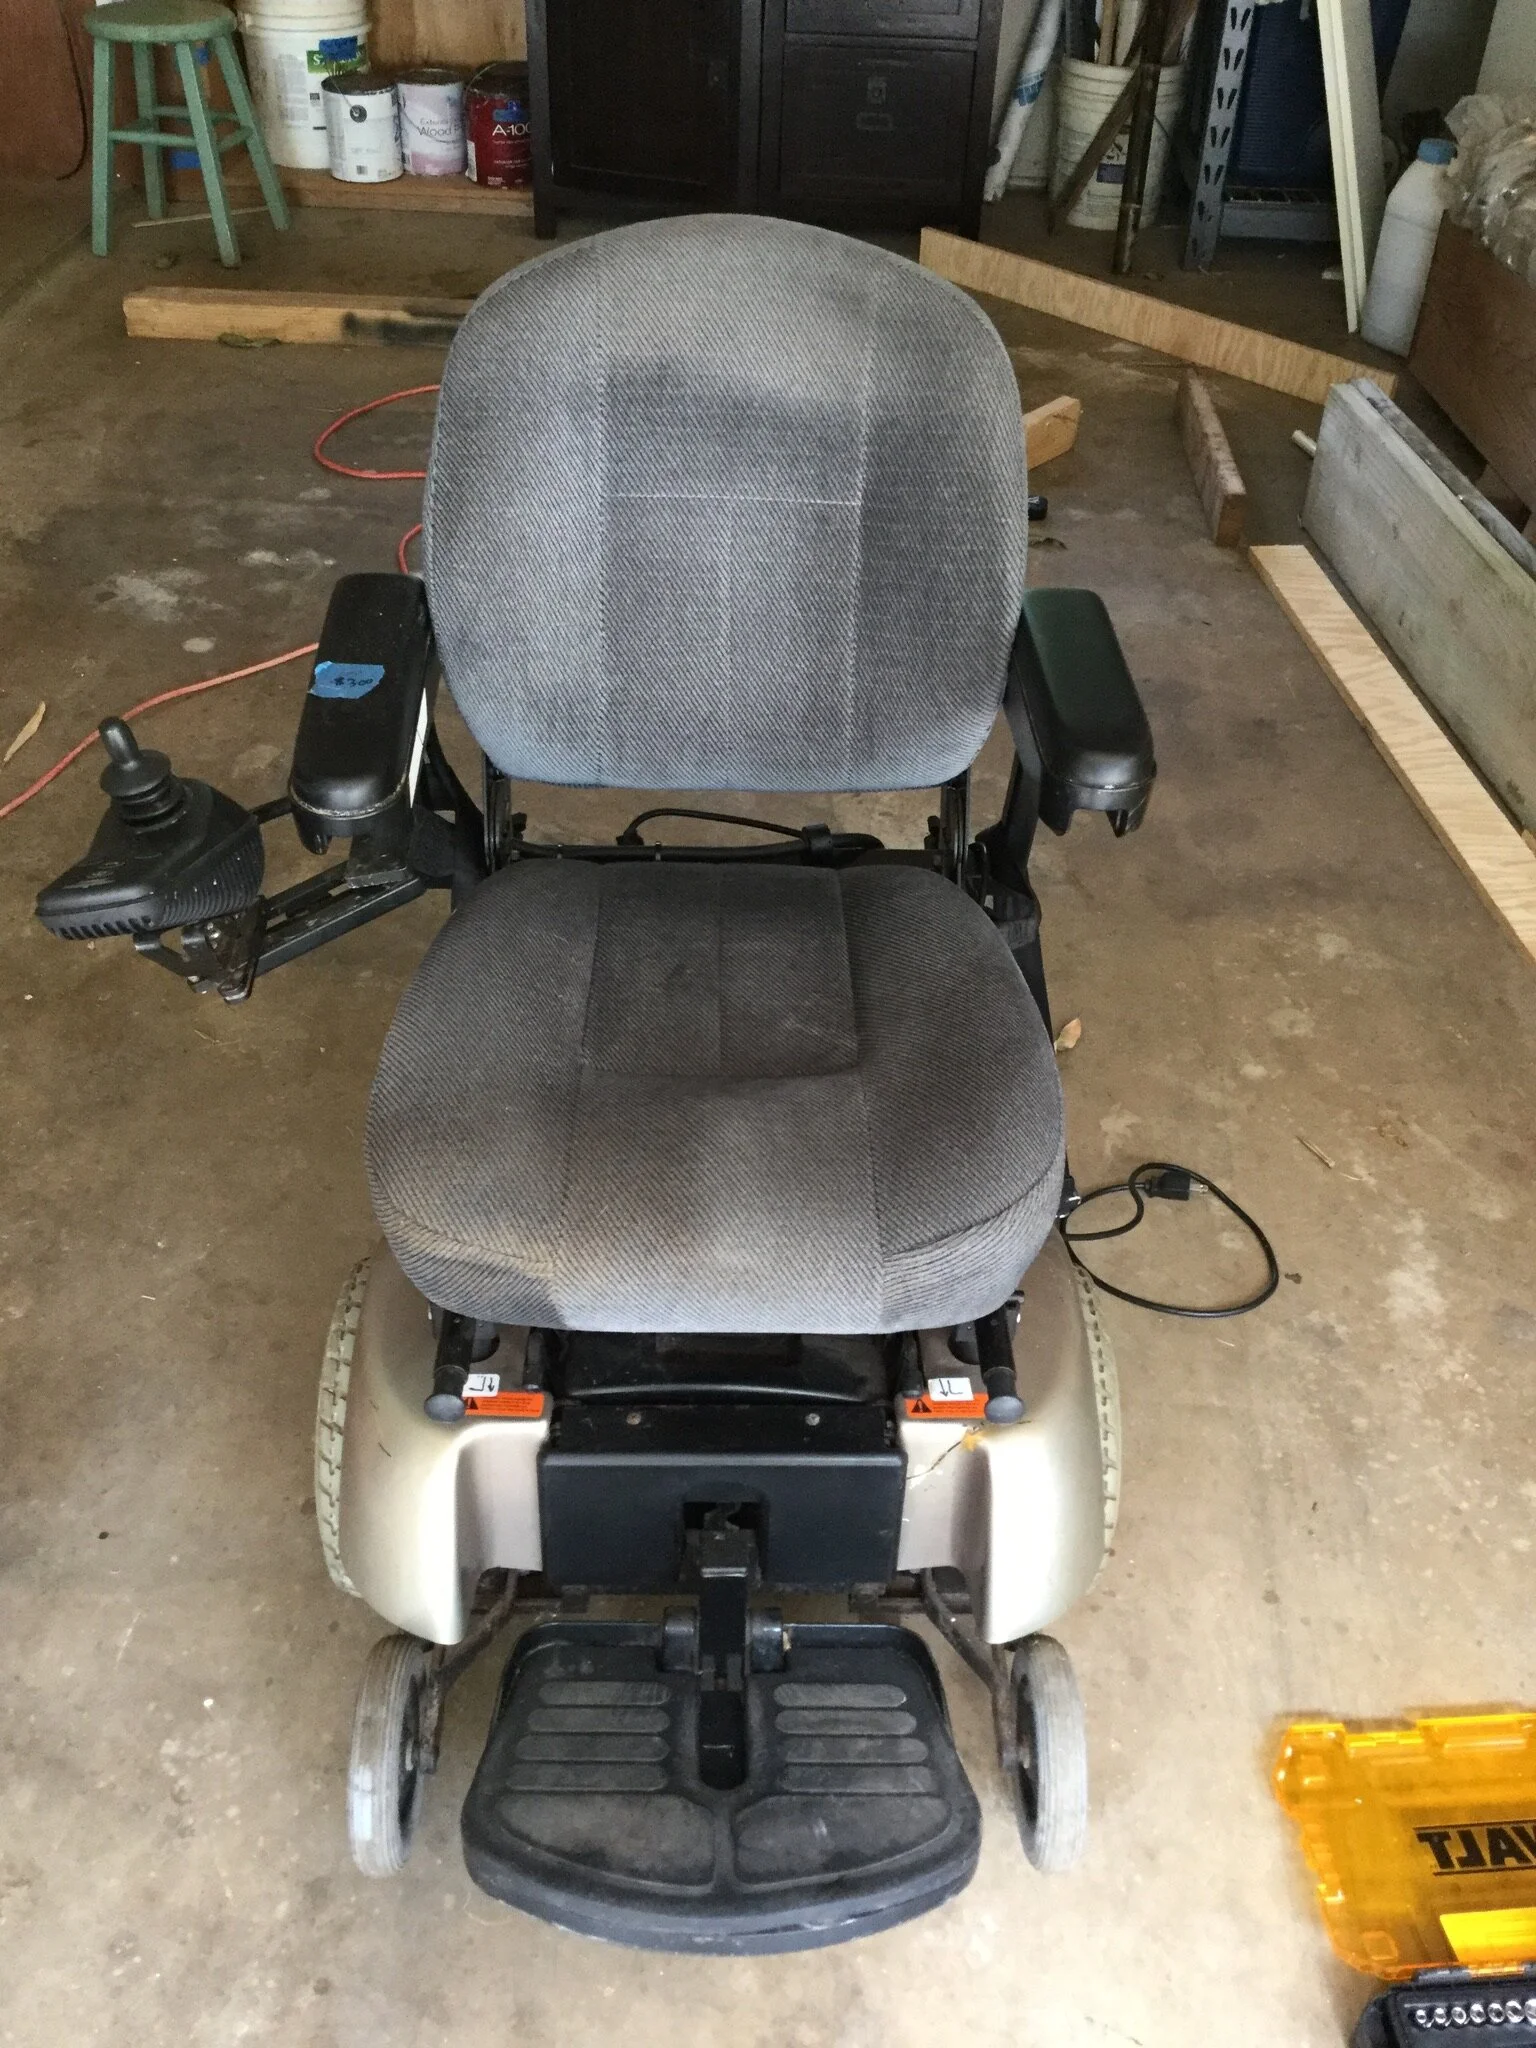
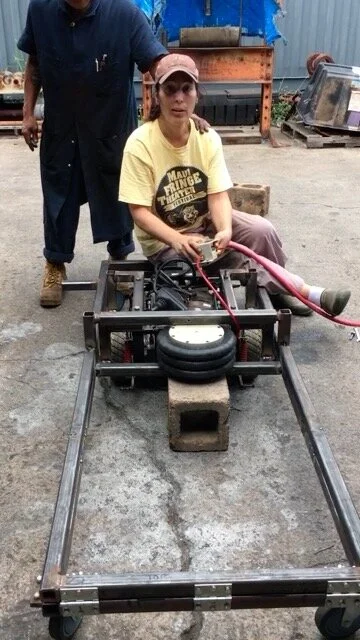
DRIVETRAIN: After many ideas and tests, I settled on finding a used electric wheel chair to work as my drive train. I was able to find one rated for 300lbs at a speed of up to 5 miles an hour on gravel. Some quick math and a lot of hope helped made me figure that I could get it to move an estimated 1,100lbs at .5 miles an hour on a smooth wood surface. The use of a wheel chair also made the car highly maneuverable.
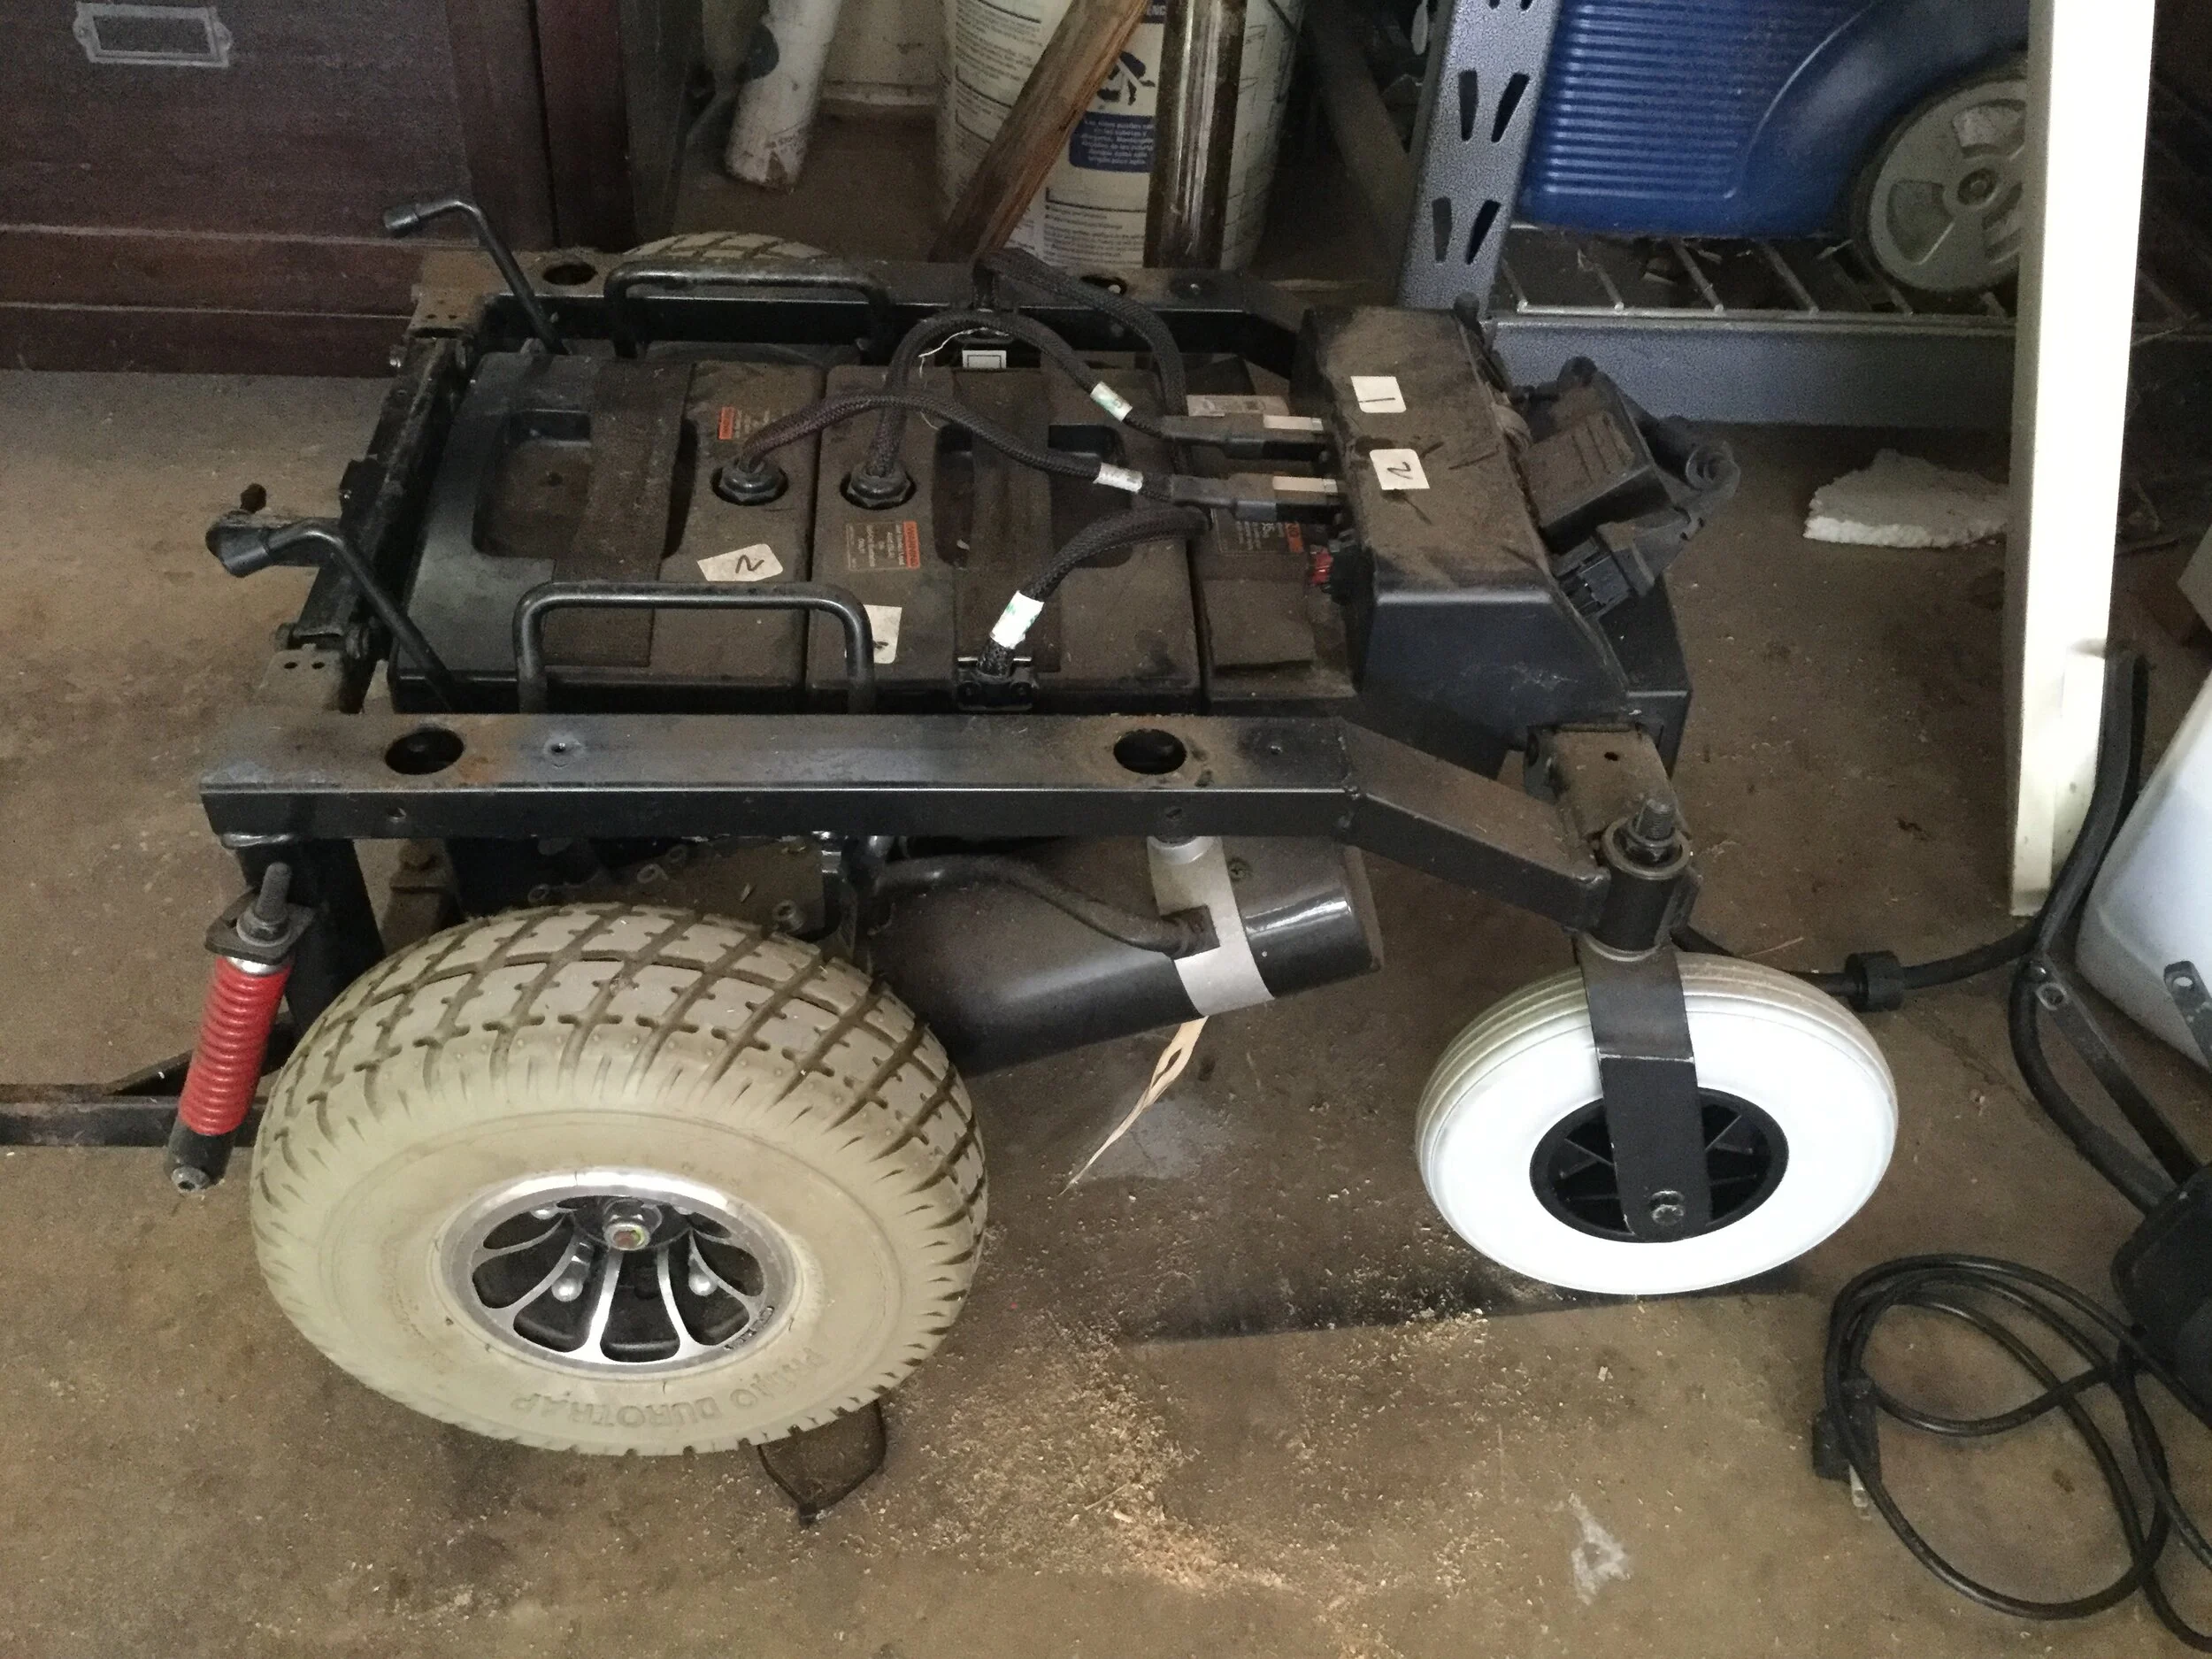
The chair came apart surprisingly easy. The only thing I needed to mod was the arms for releasing the gears. It is imperative that you are able to release the gears just incase the battery or motor gives out, this will allow you to push the vehicle.
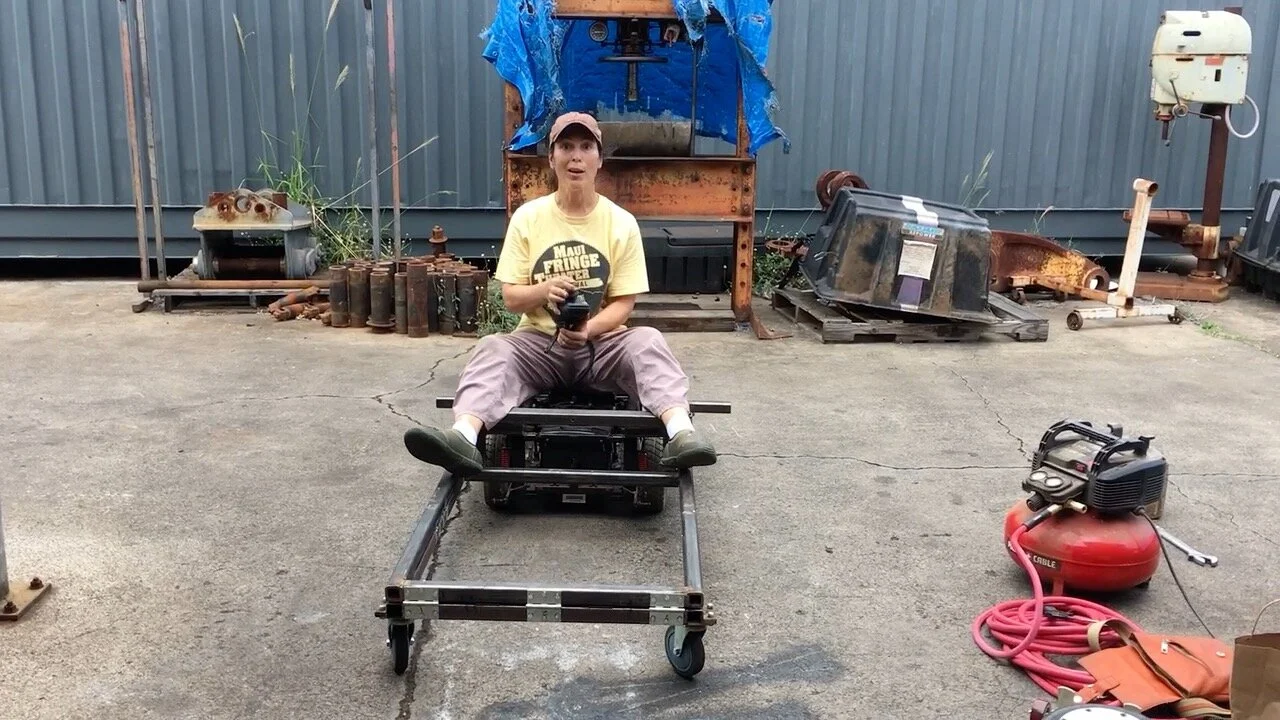
Drivetrain
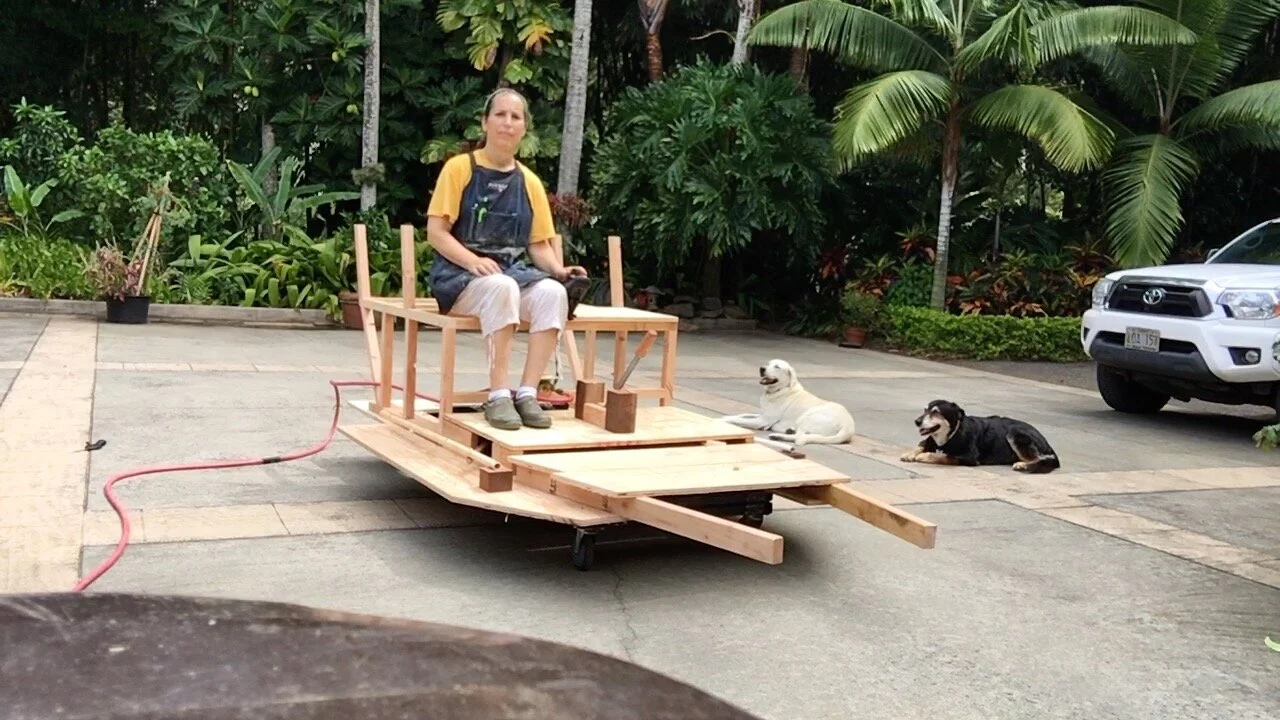
First full test of the wheelchair drivetrain system.
LIFTING MECHANISM

LIFTING MECHANISM: For raising and lowering the car during the falling off the cliff scene, I used BestEquip 3 Bag Air Jack 6600LBS Capacity Pneumatic Jack 16 Inch Lifting Height Pneumatic Air Jack.

The chassis was built on a hinge and the mounting plates for the jack were built with a rotating mount.


A small onboard air tank is pressurized before each performance. This carries enough air to lift the car and to spray smoke.
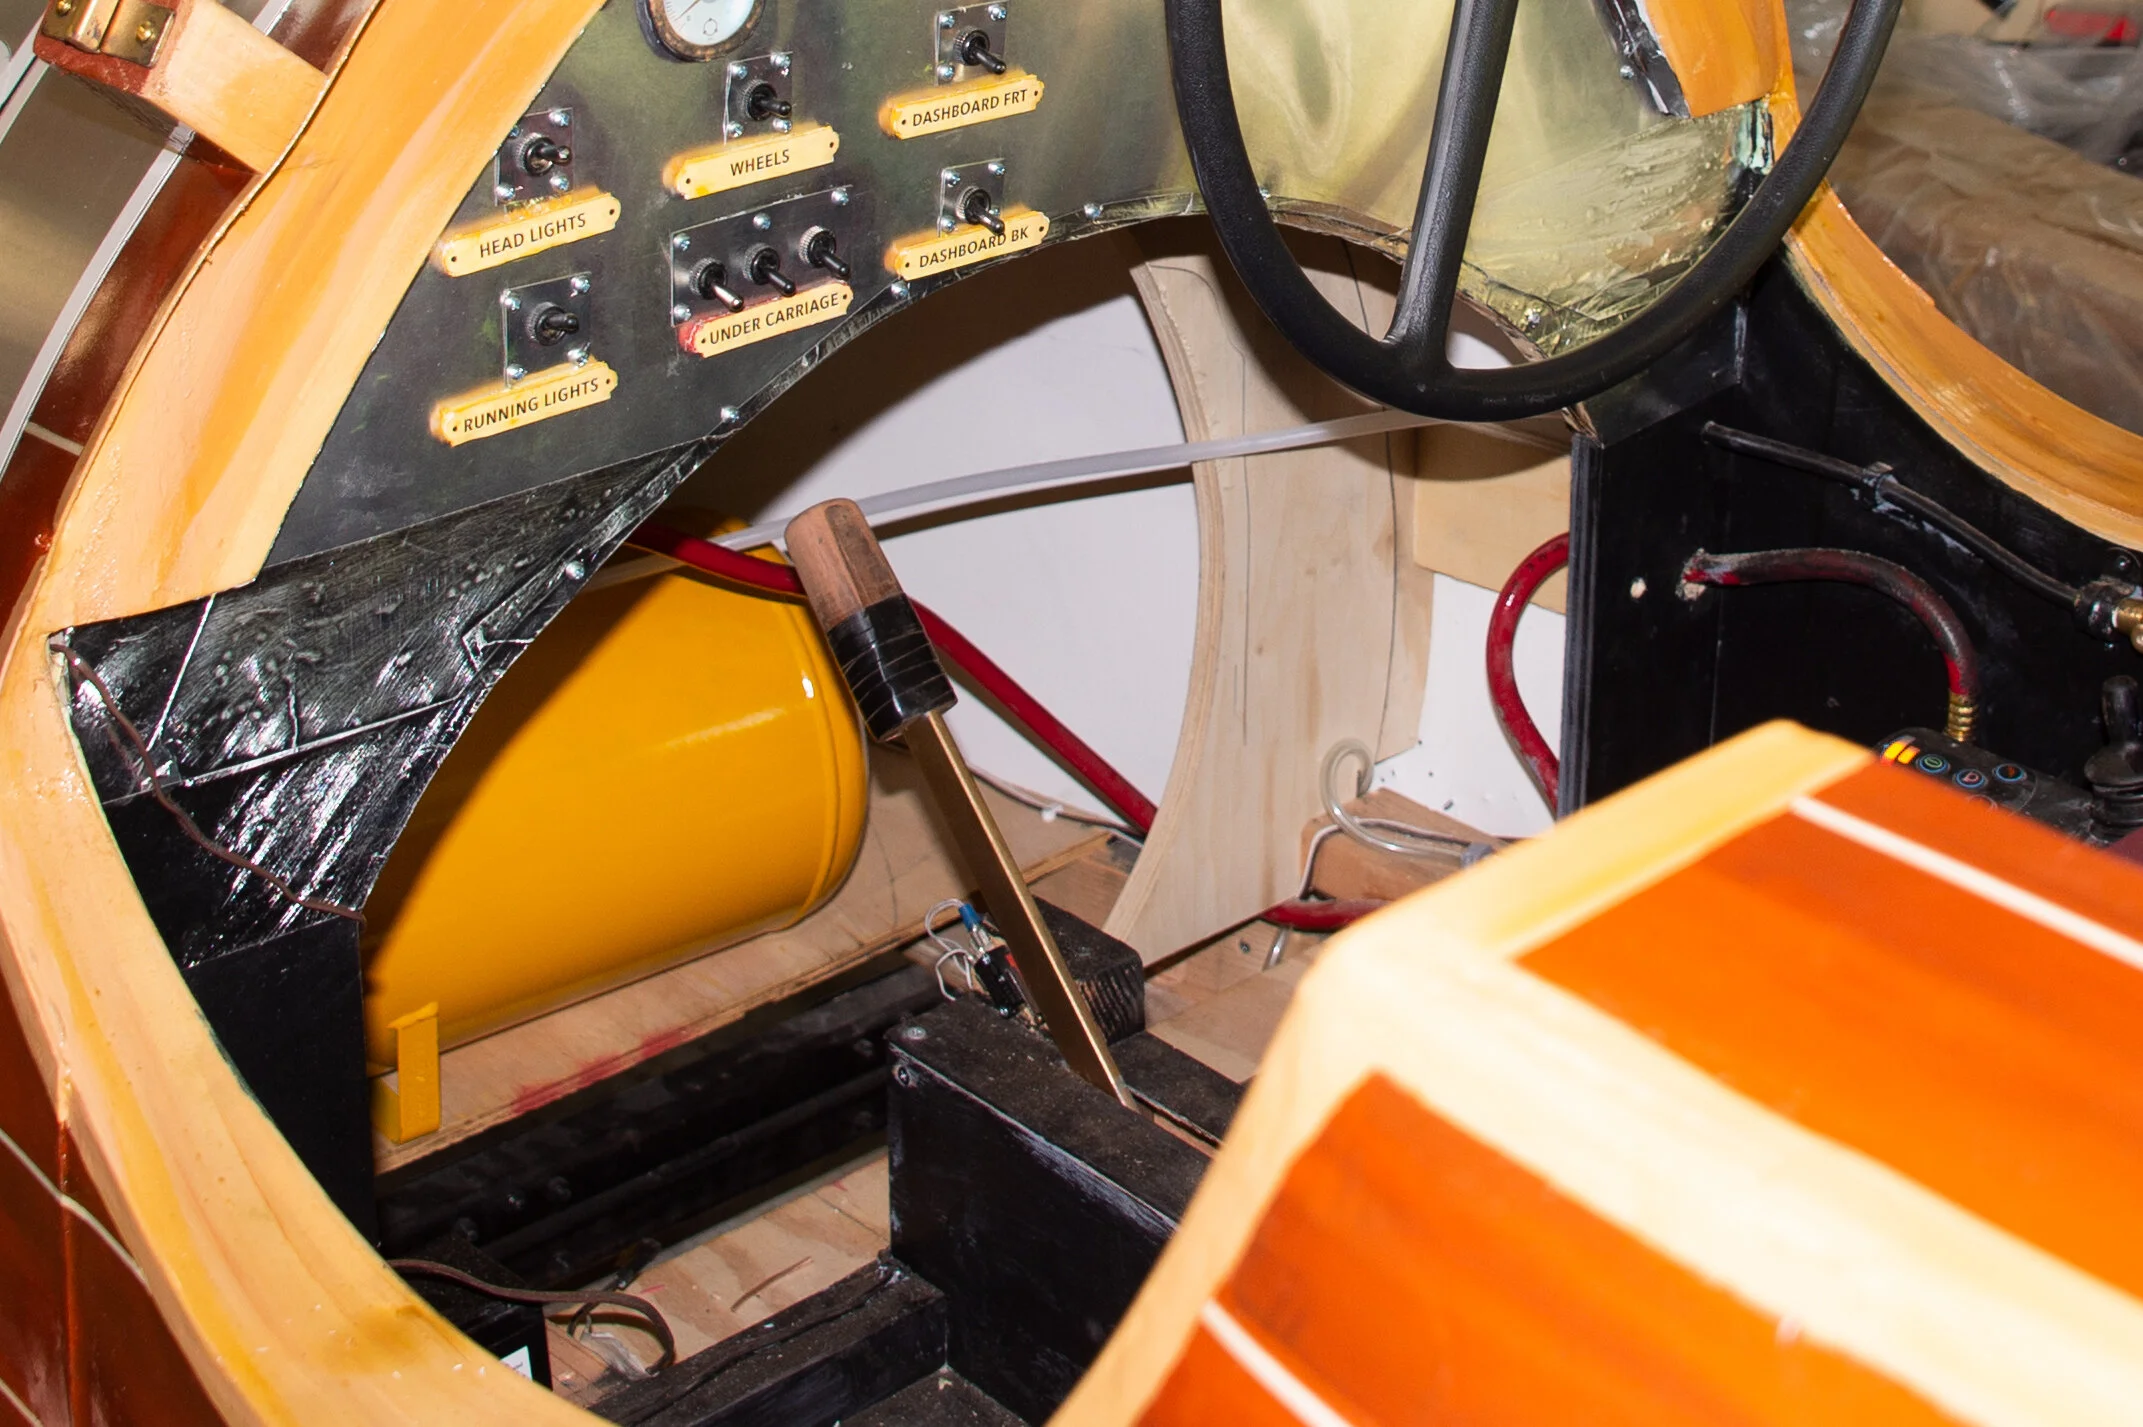
Onboard air tank is secured on platform inside the nosecone.

The controls are mounted on the drivers right by the driving controls. The 2nd yellow valve allows a burst of air to push ash out of the tailpipe.
Lifting Test
First test of the airjack system.
WING ASSEMBLY
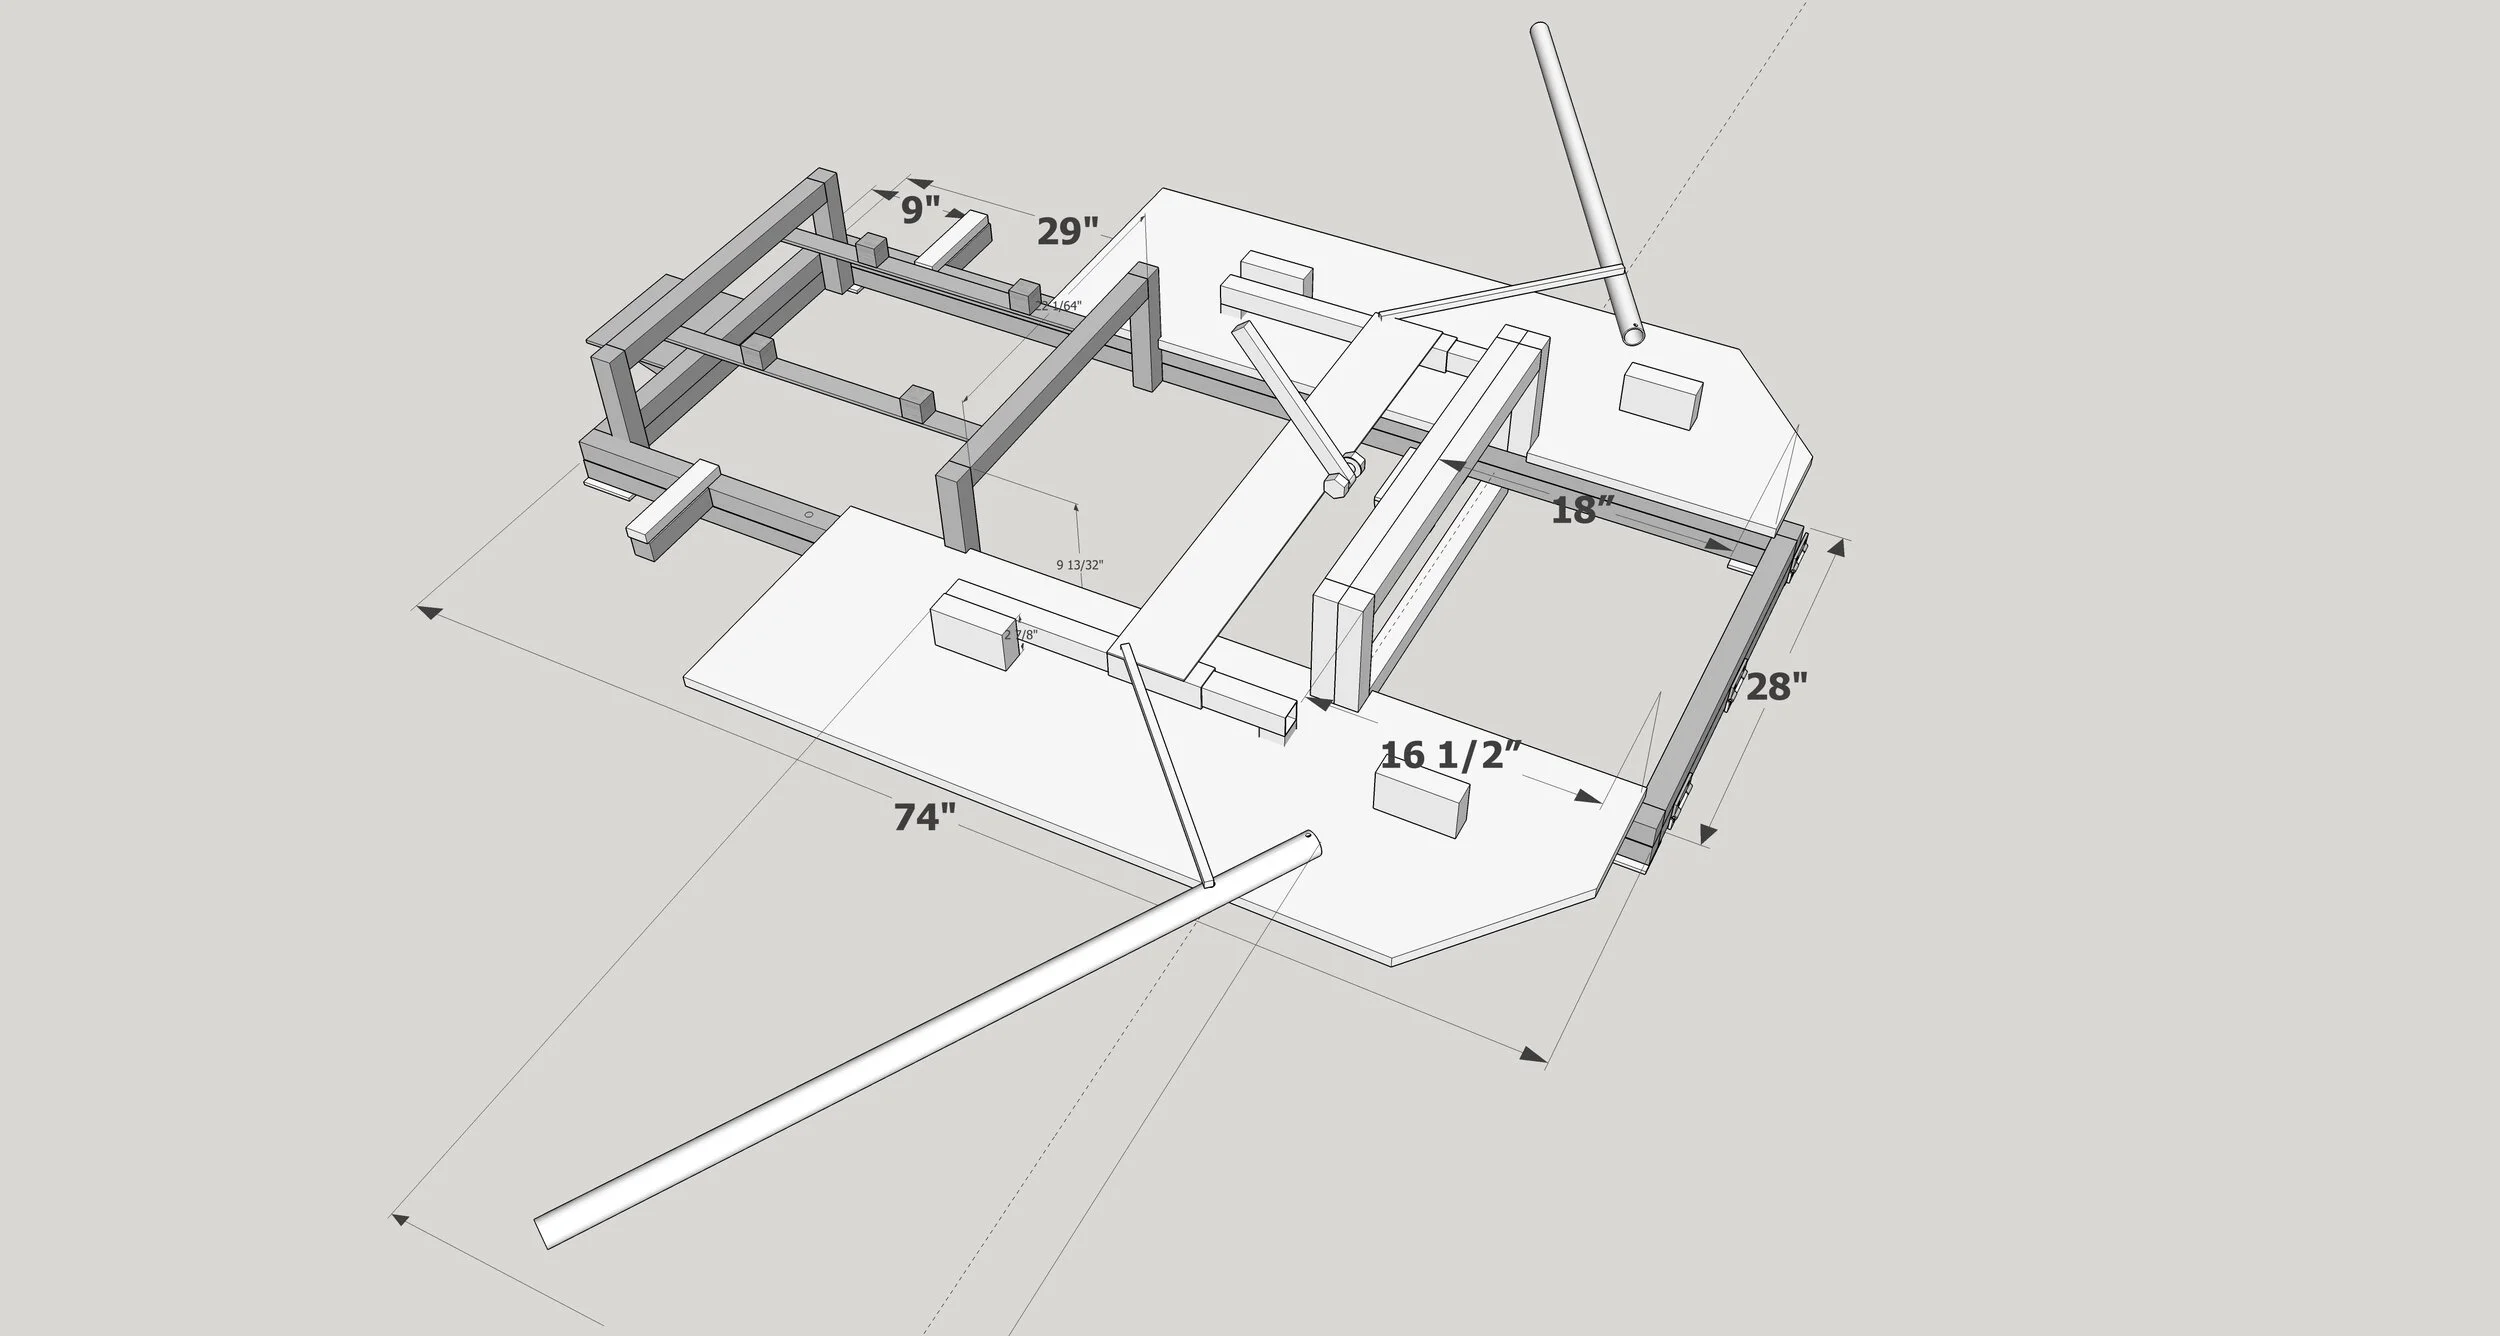
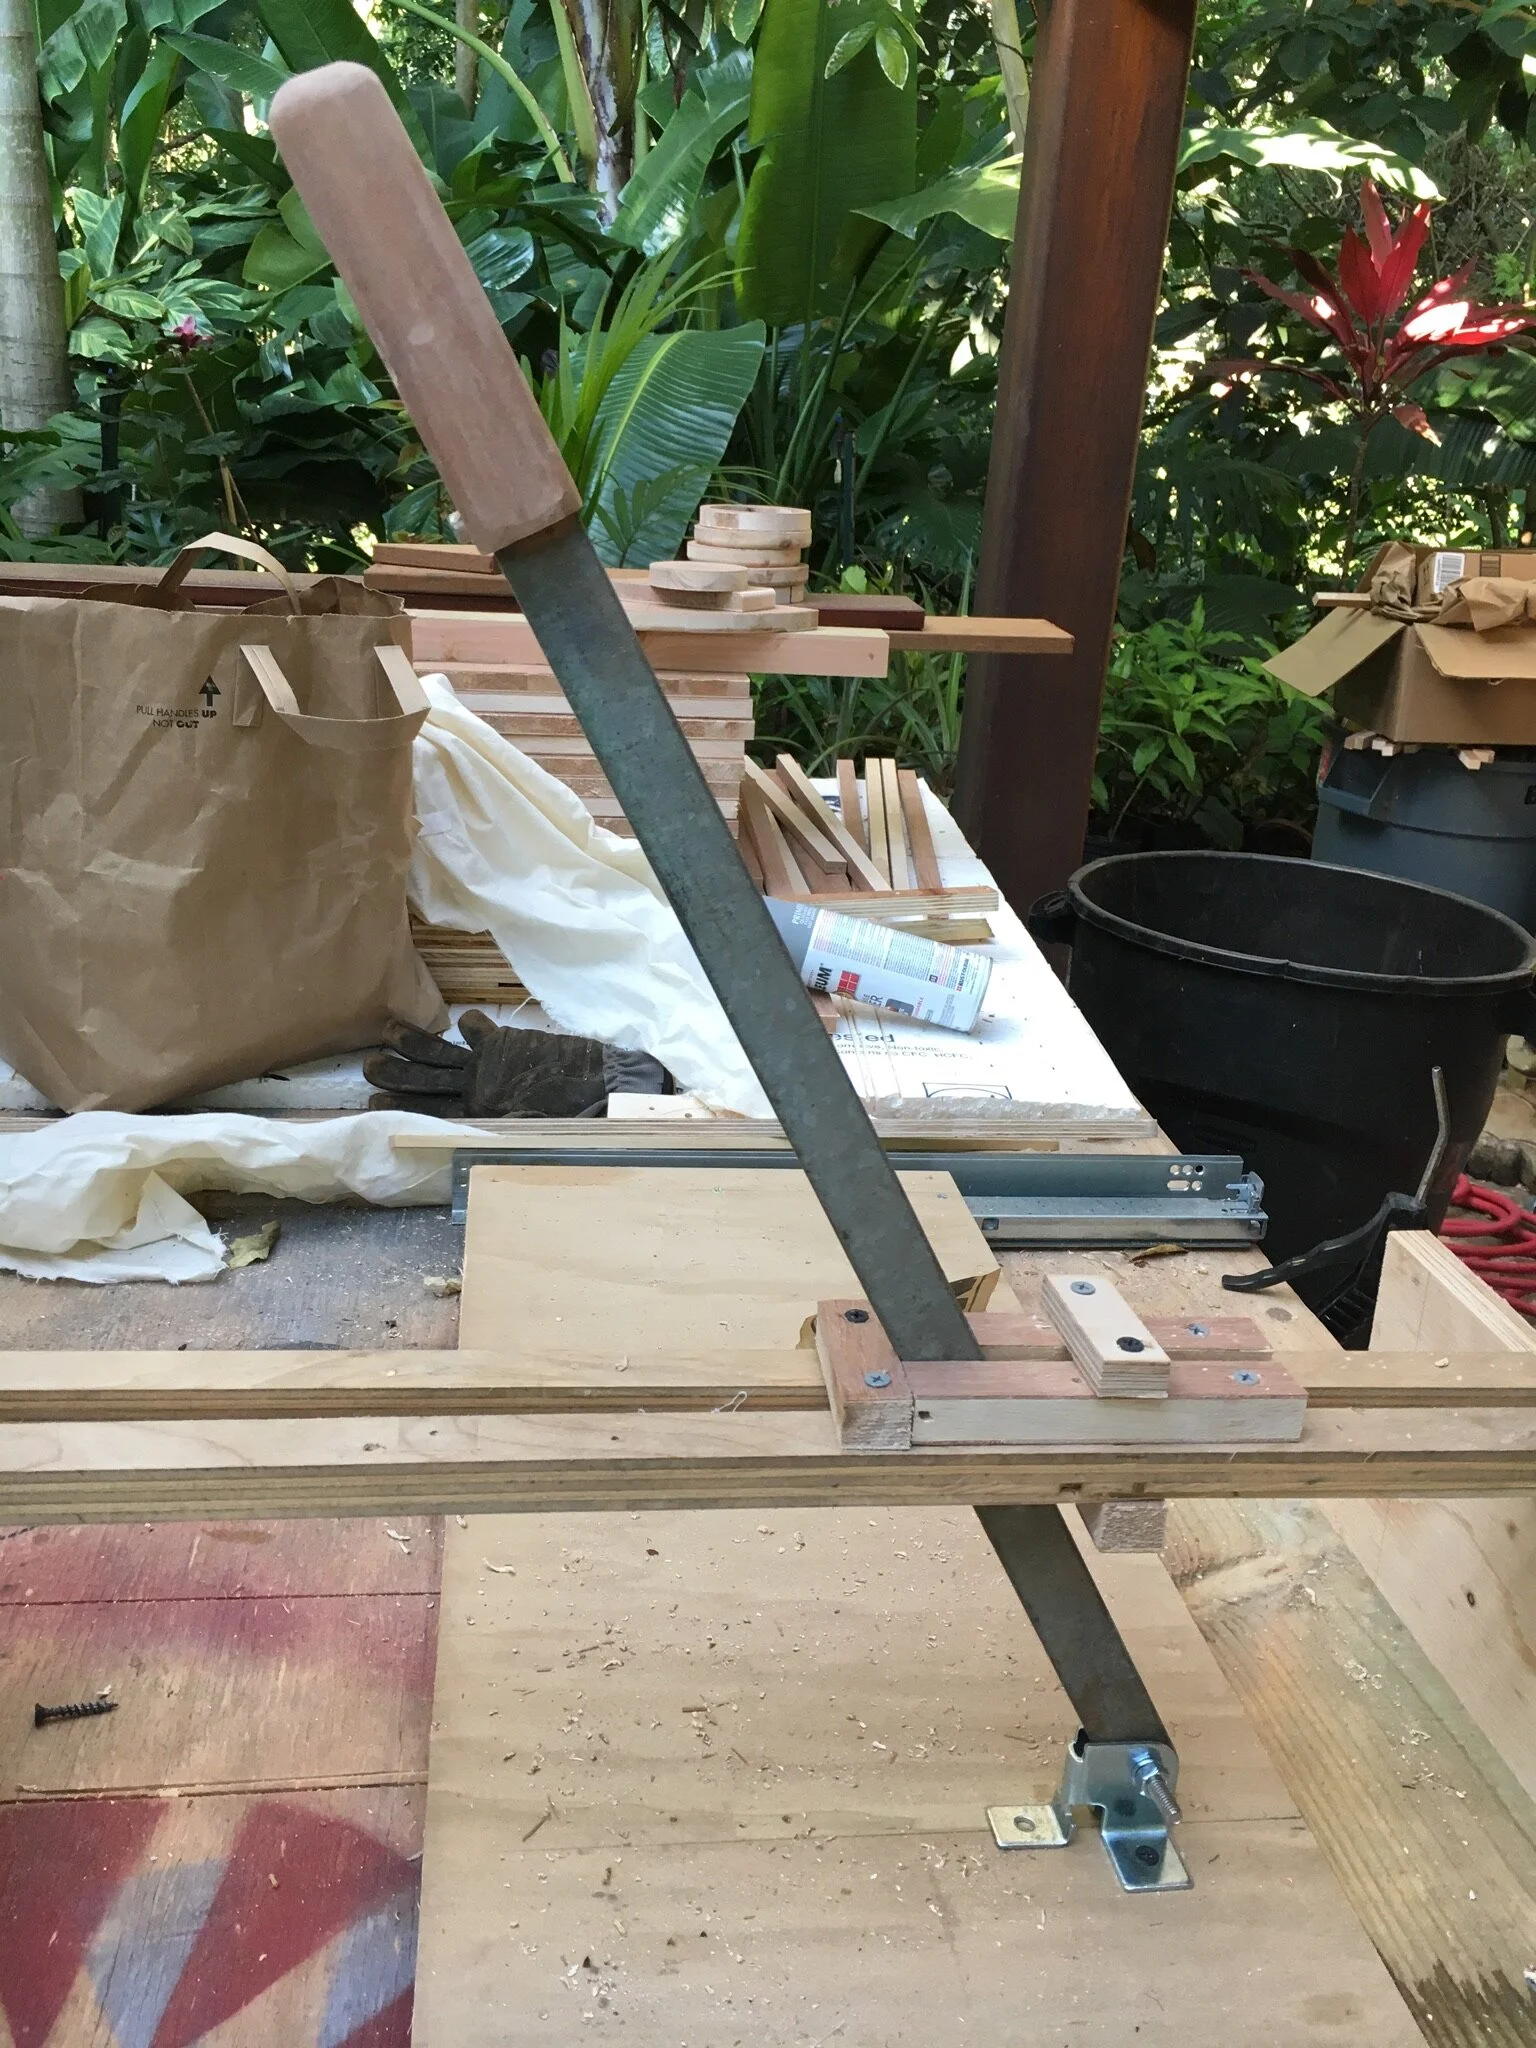
Original basic plan for wings. I refined it by using drawer slides for the runners
Basic design for wing lever. (See the video below)
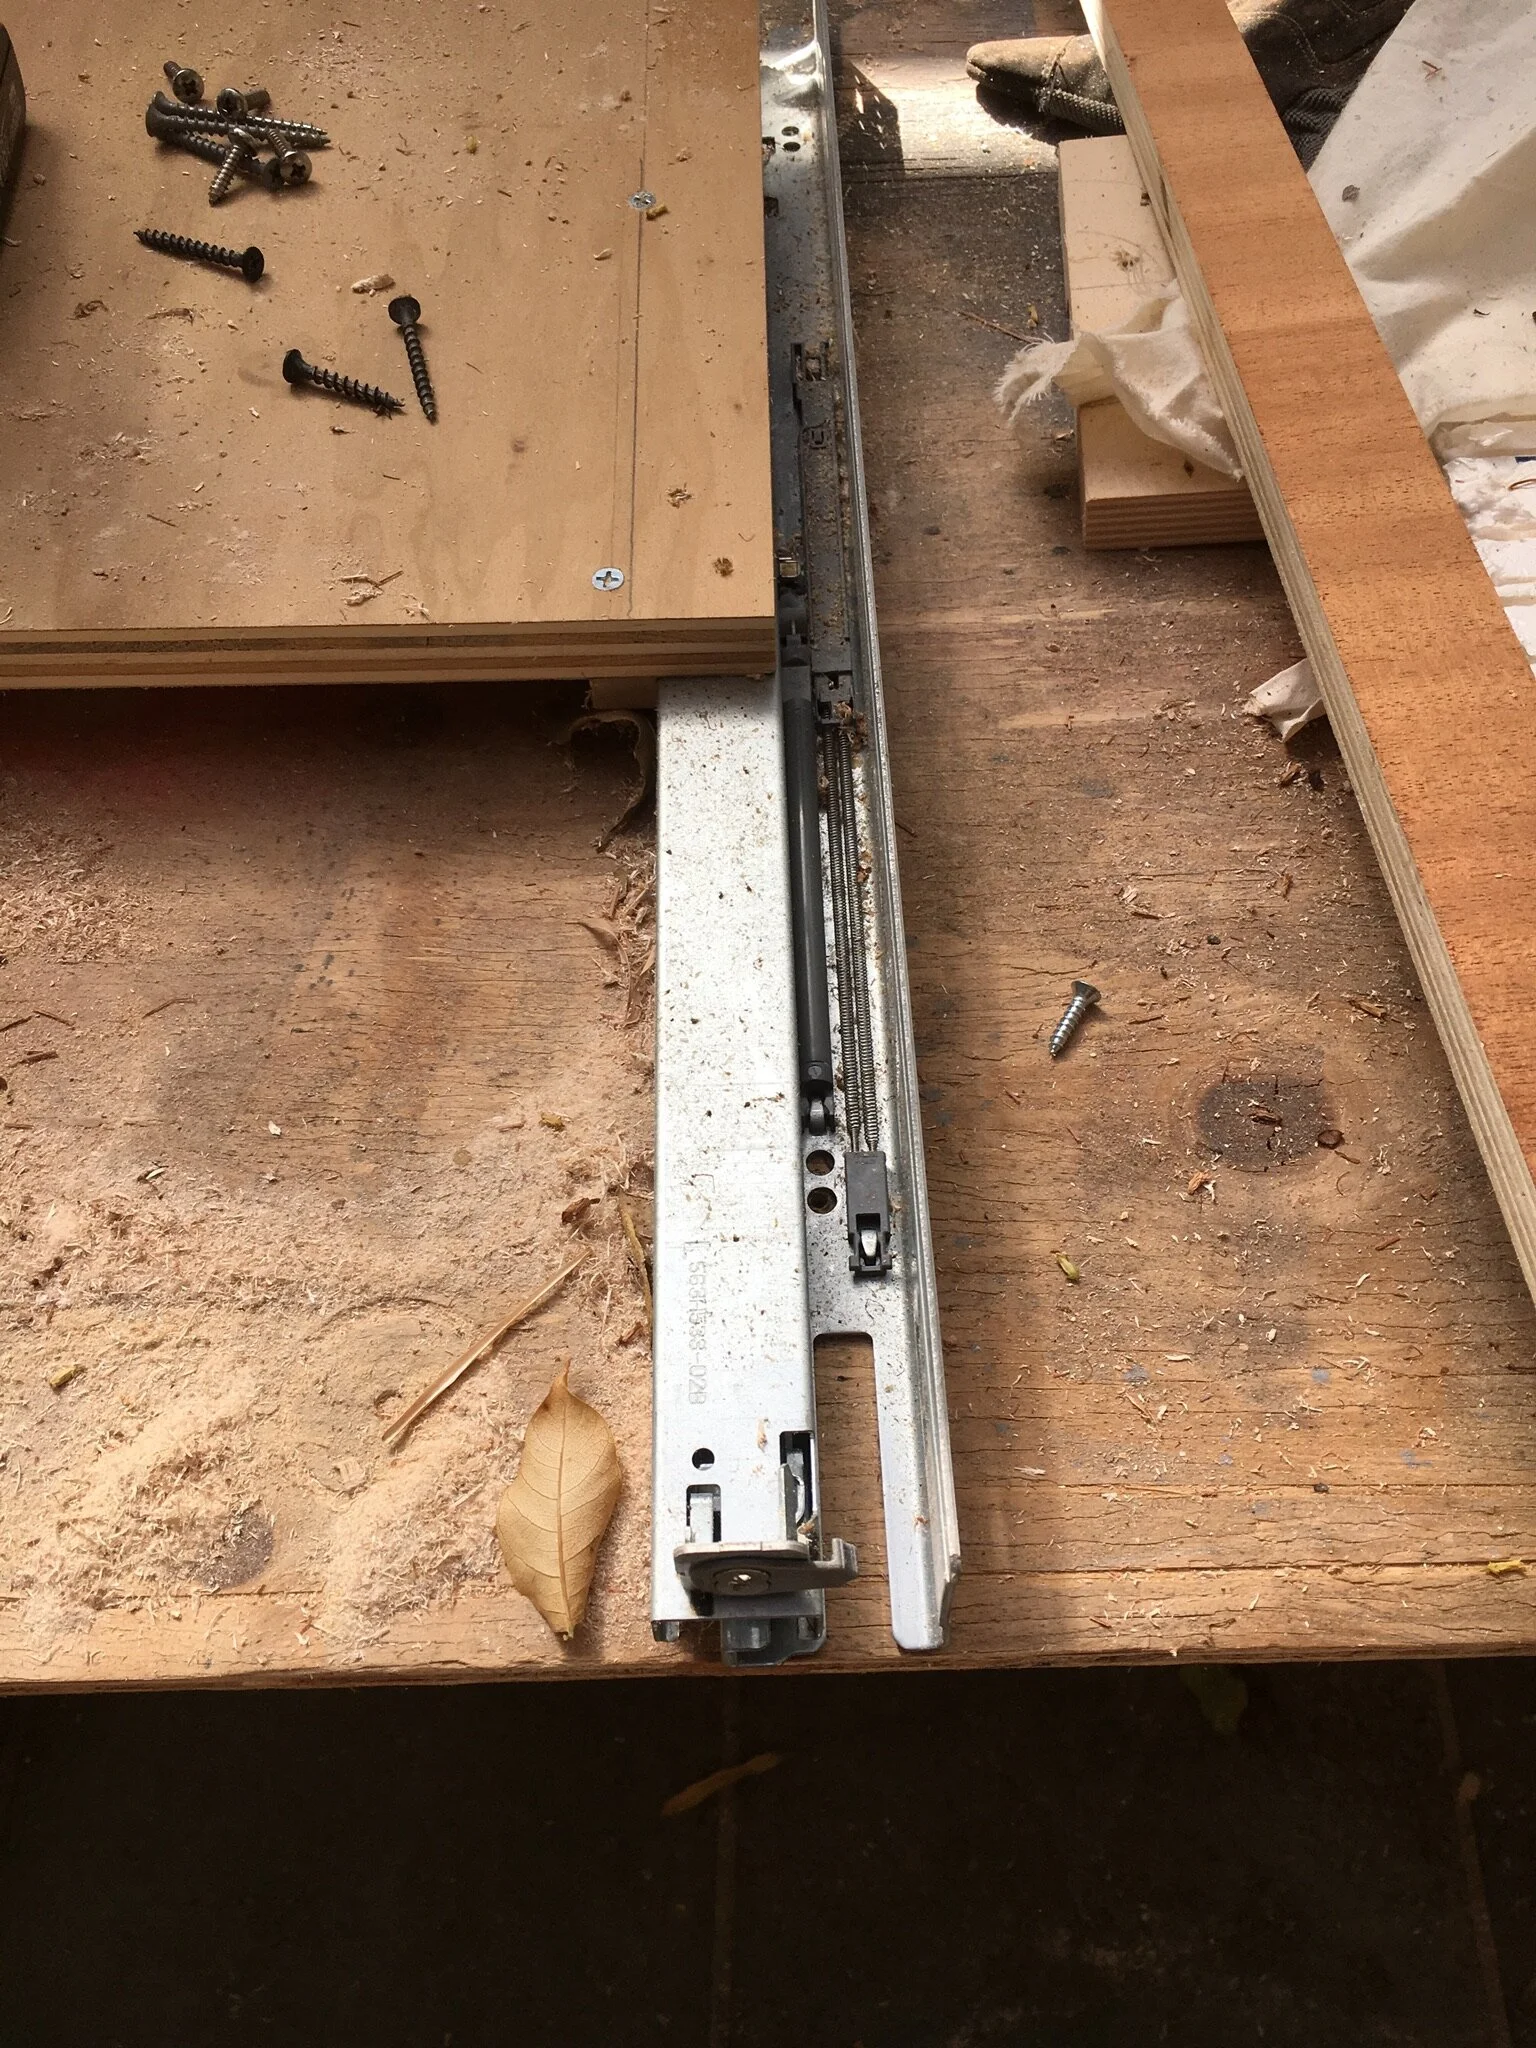
Drawer slides work great as the runners.

Basic pattern for sewing the wings. I used flag material as it holds up well, has good color and can take some abuse.
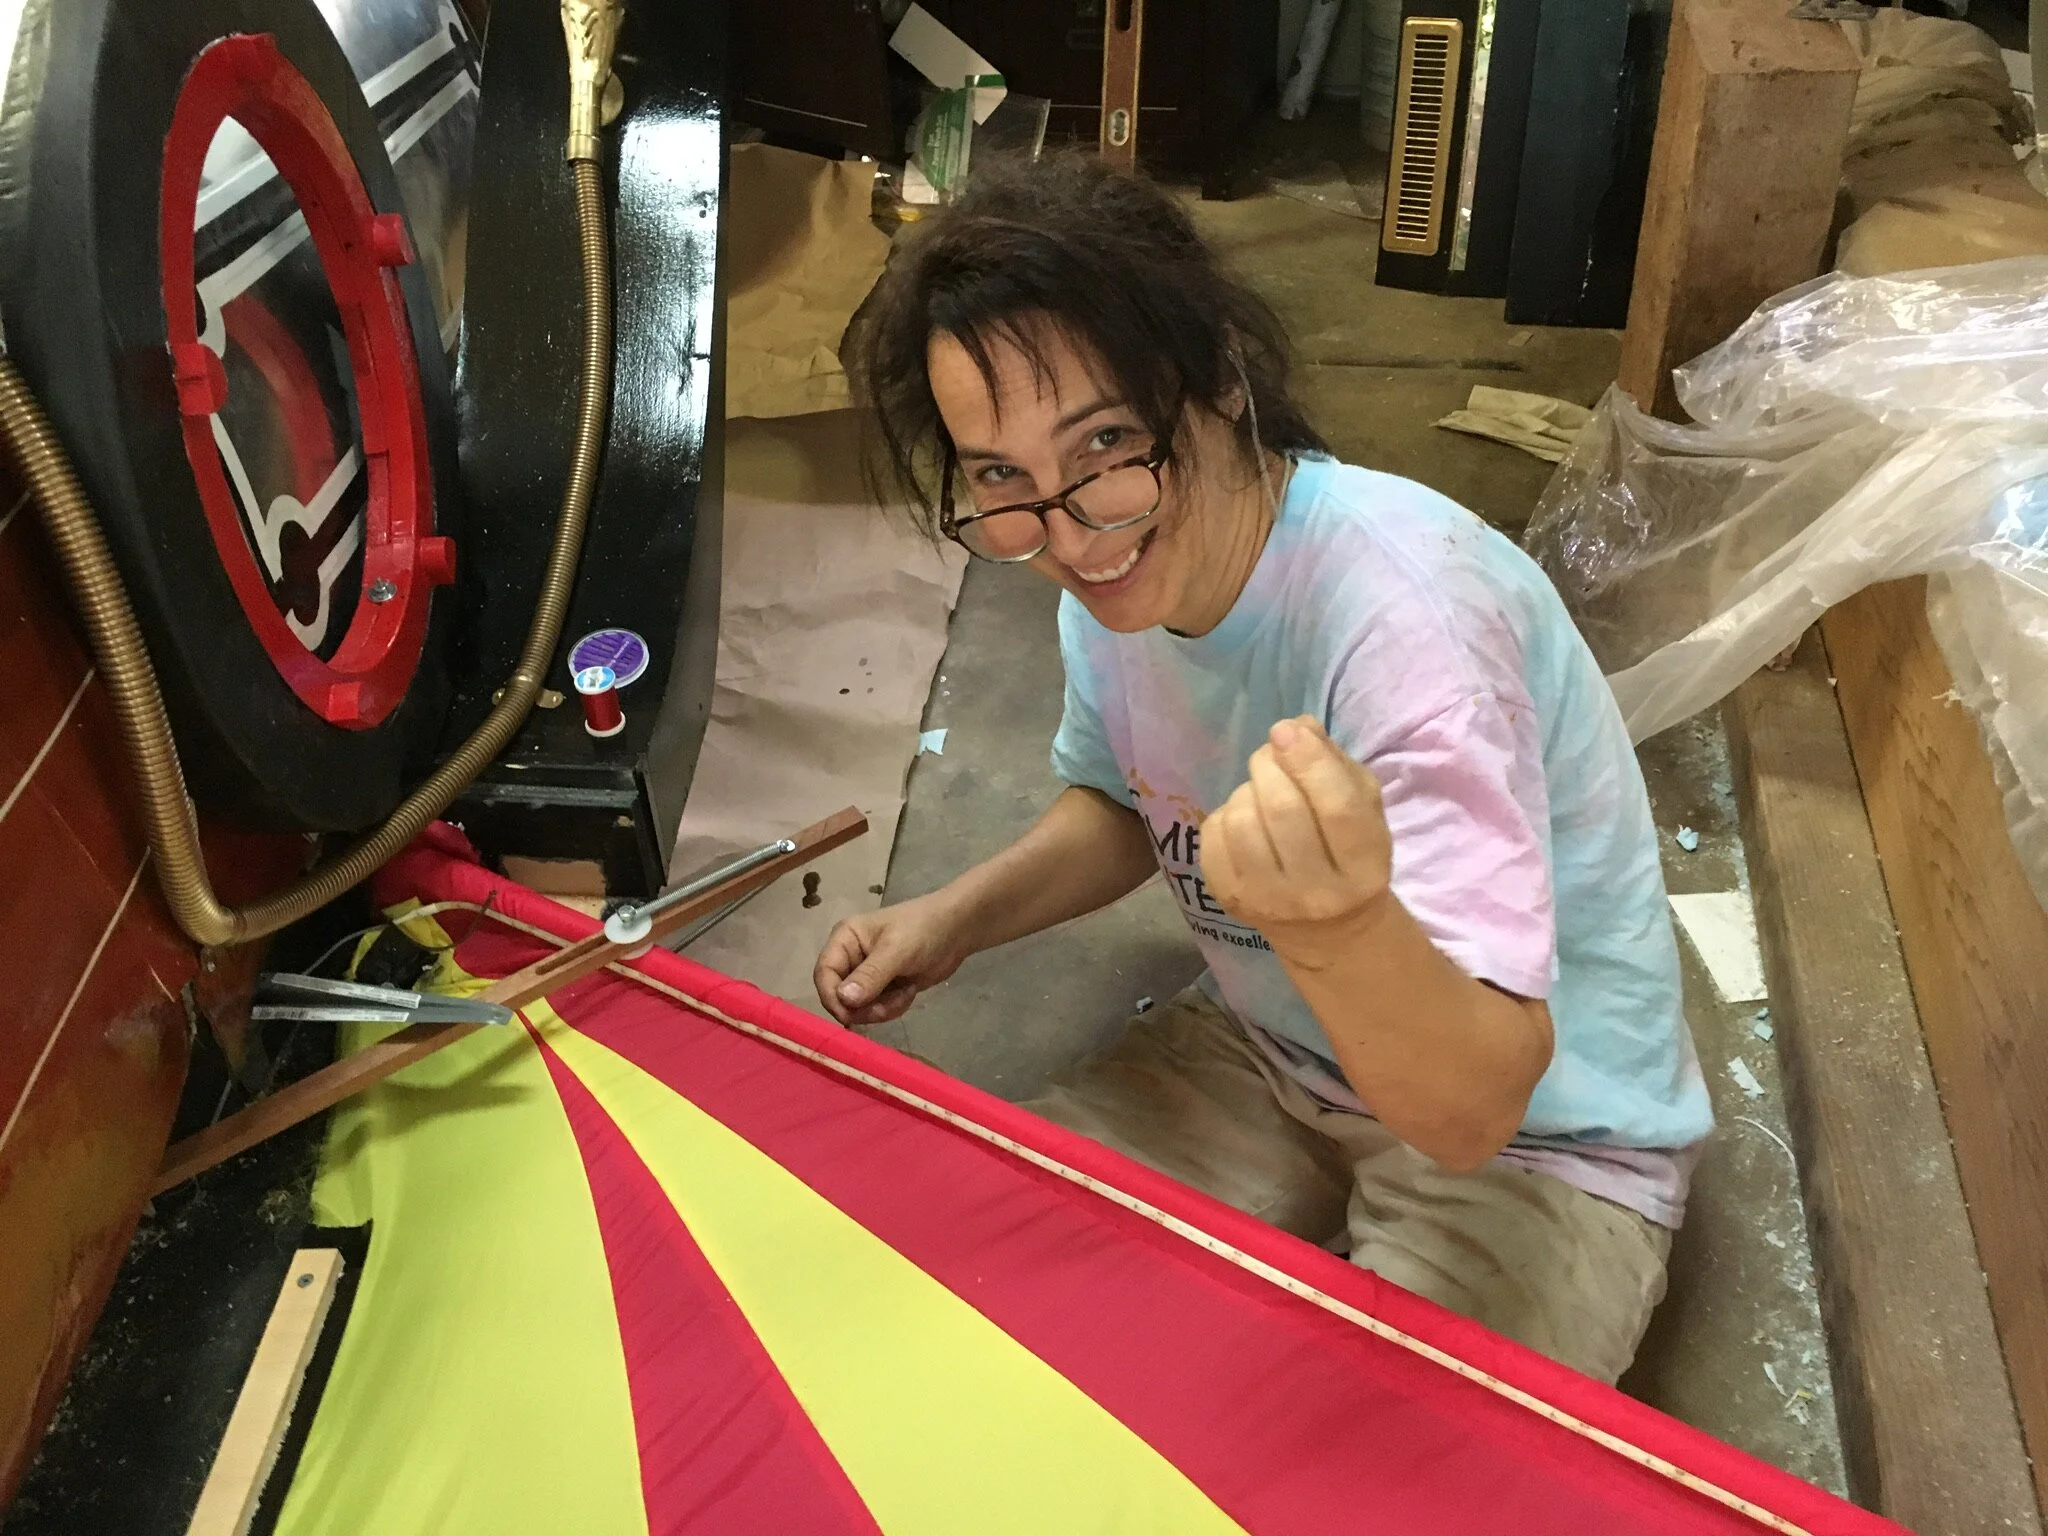
I hand stitched the lights onto the front and also did some hand stitching to tighten the wing once it was in the fully open position.

Wing Assembly
Shows drawer slide assembly for wing activation.
Wing Assembly on chassis
Gives a good view of the lever and wing arms before enclosing in wing pods. (Sorry about the dog butt.)
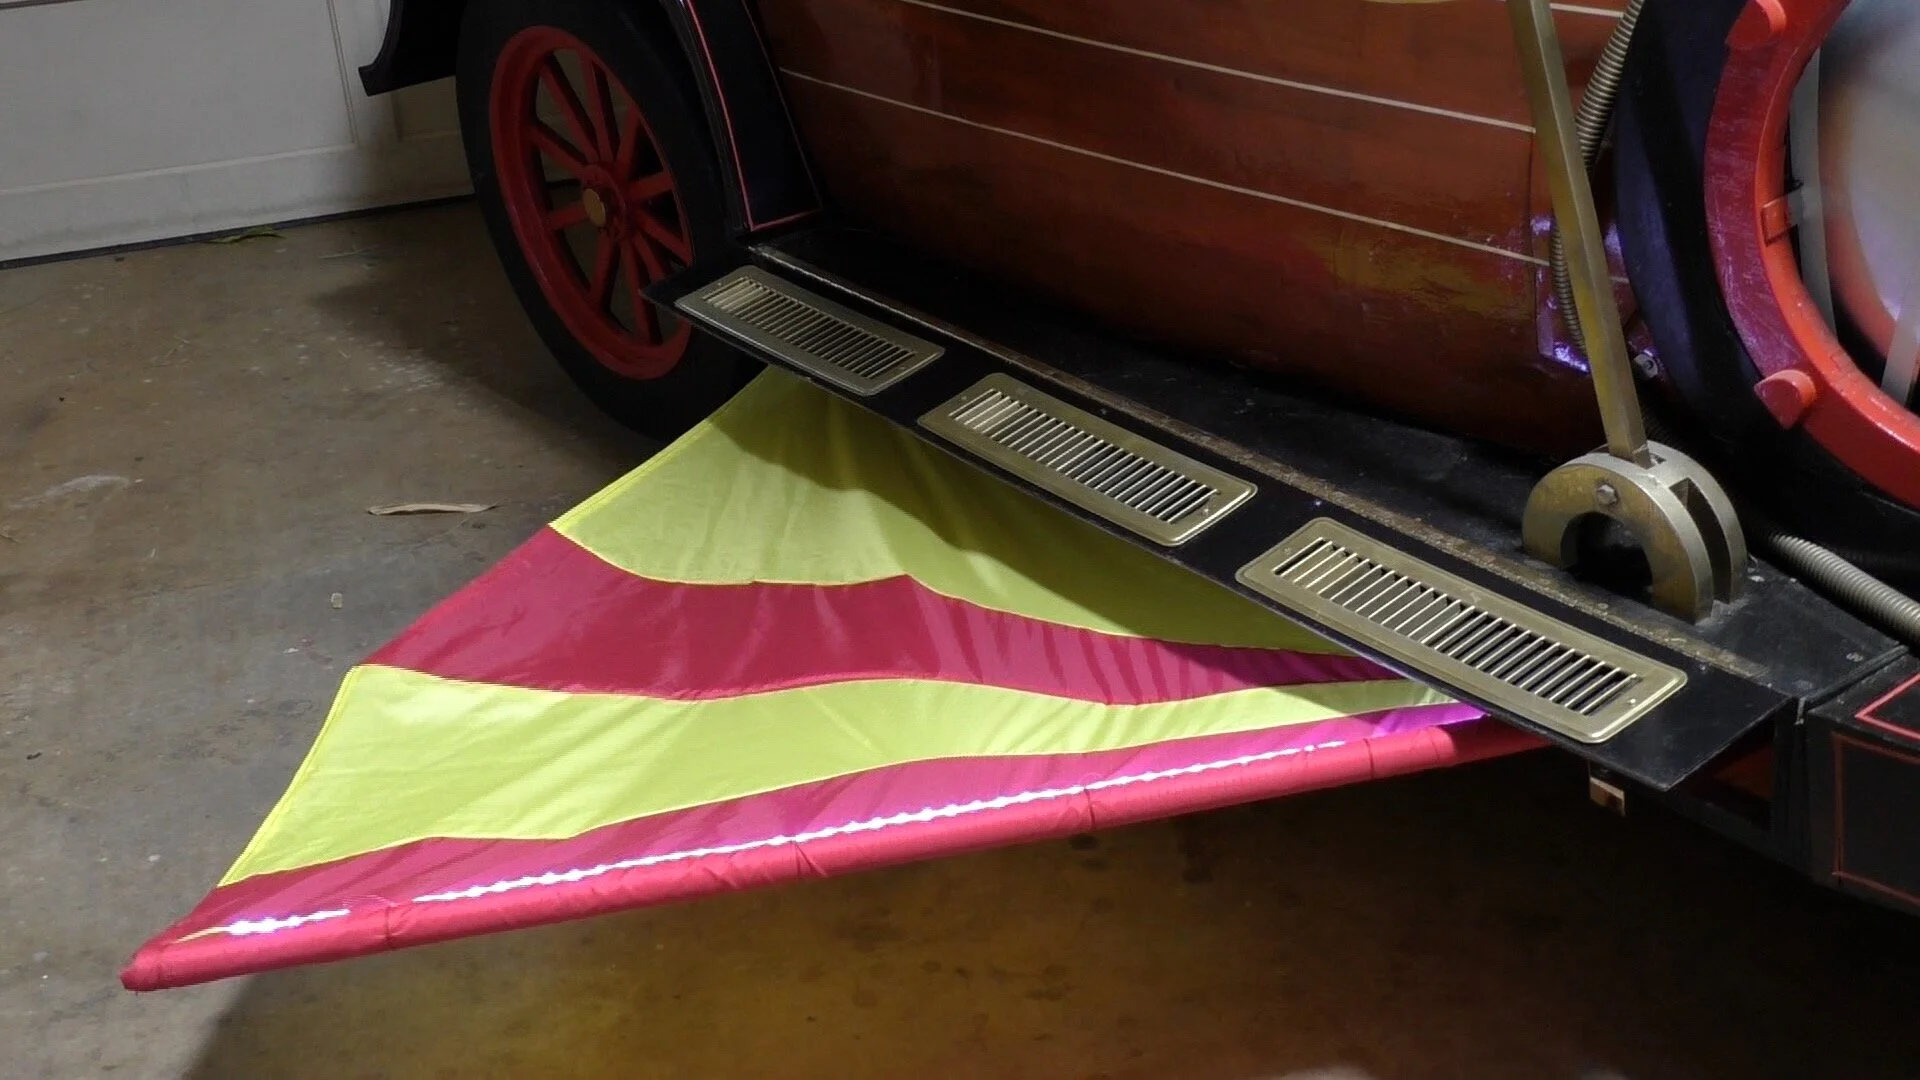
Wing Compartment
Shows the swing door for wing compartment
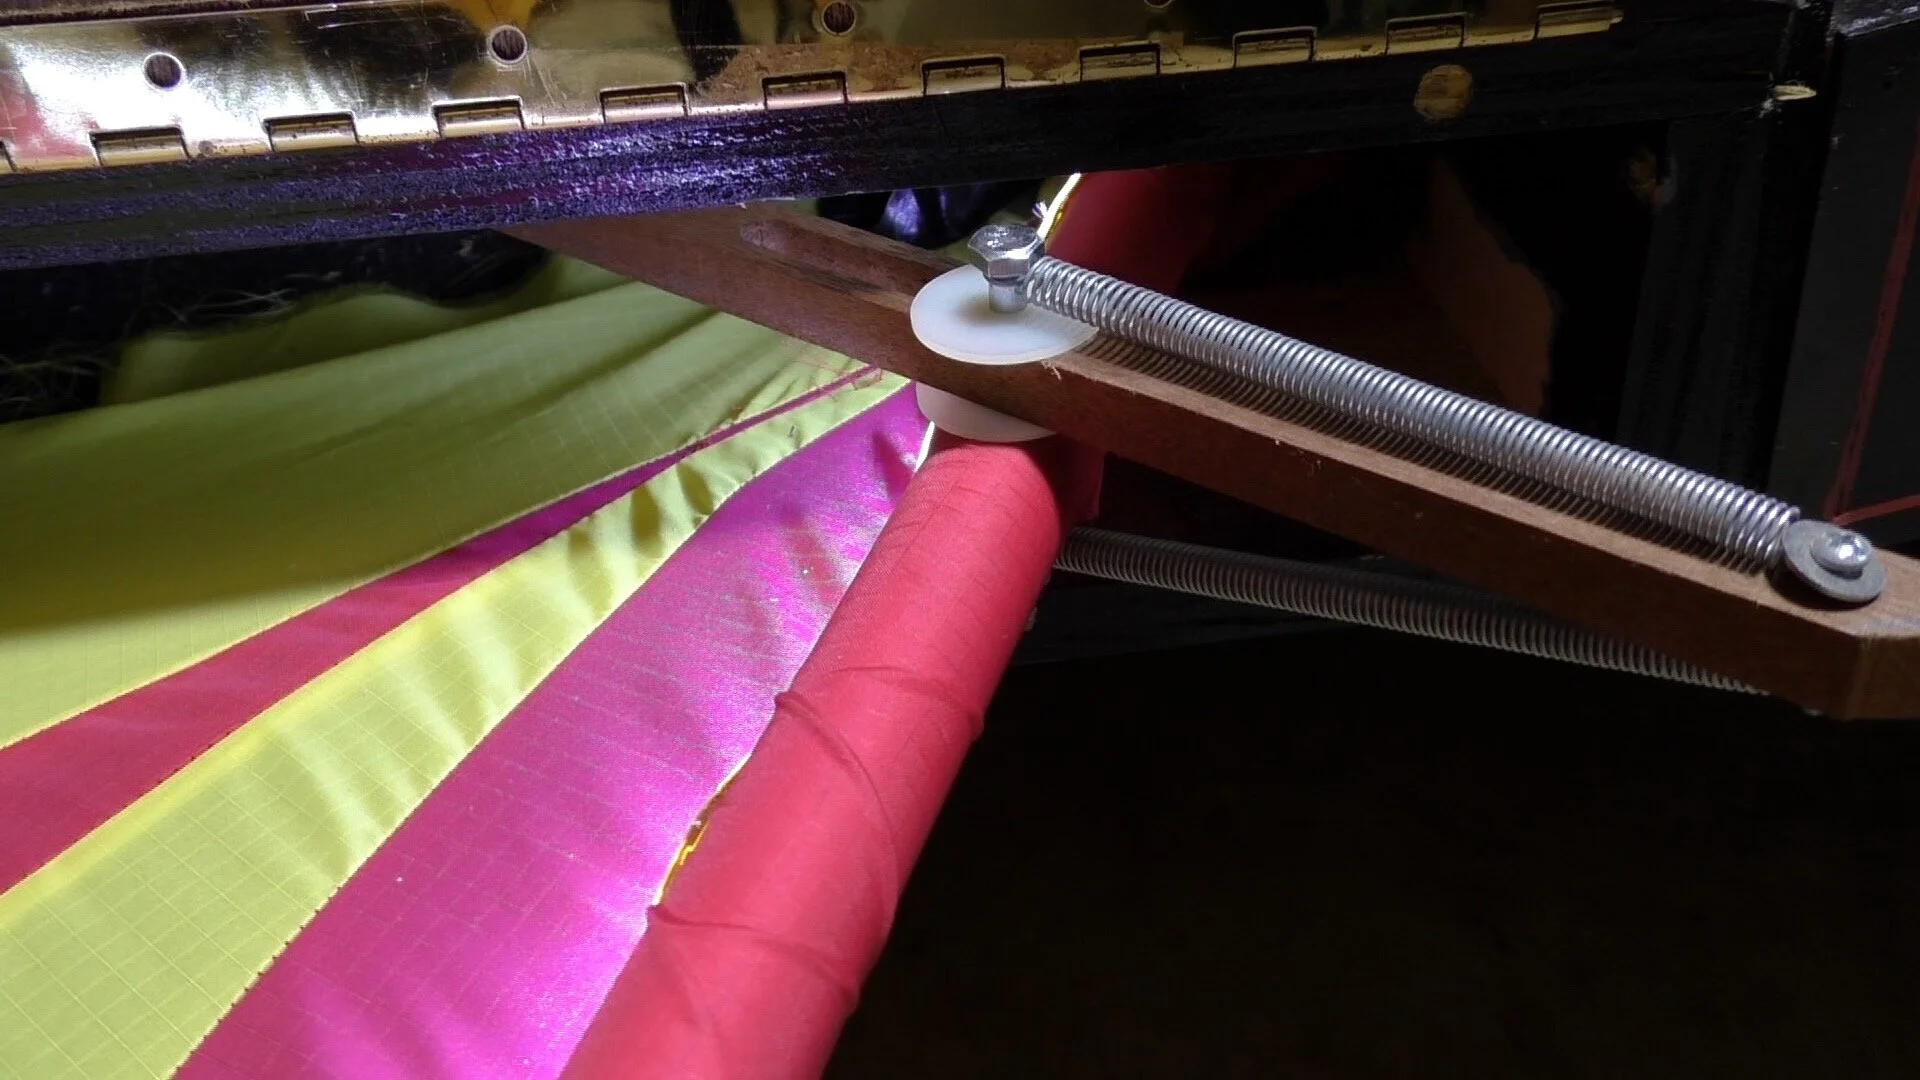
Wing Spring Load
Closeup of spring loaded mechanism for opening the wings.
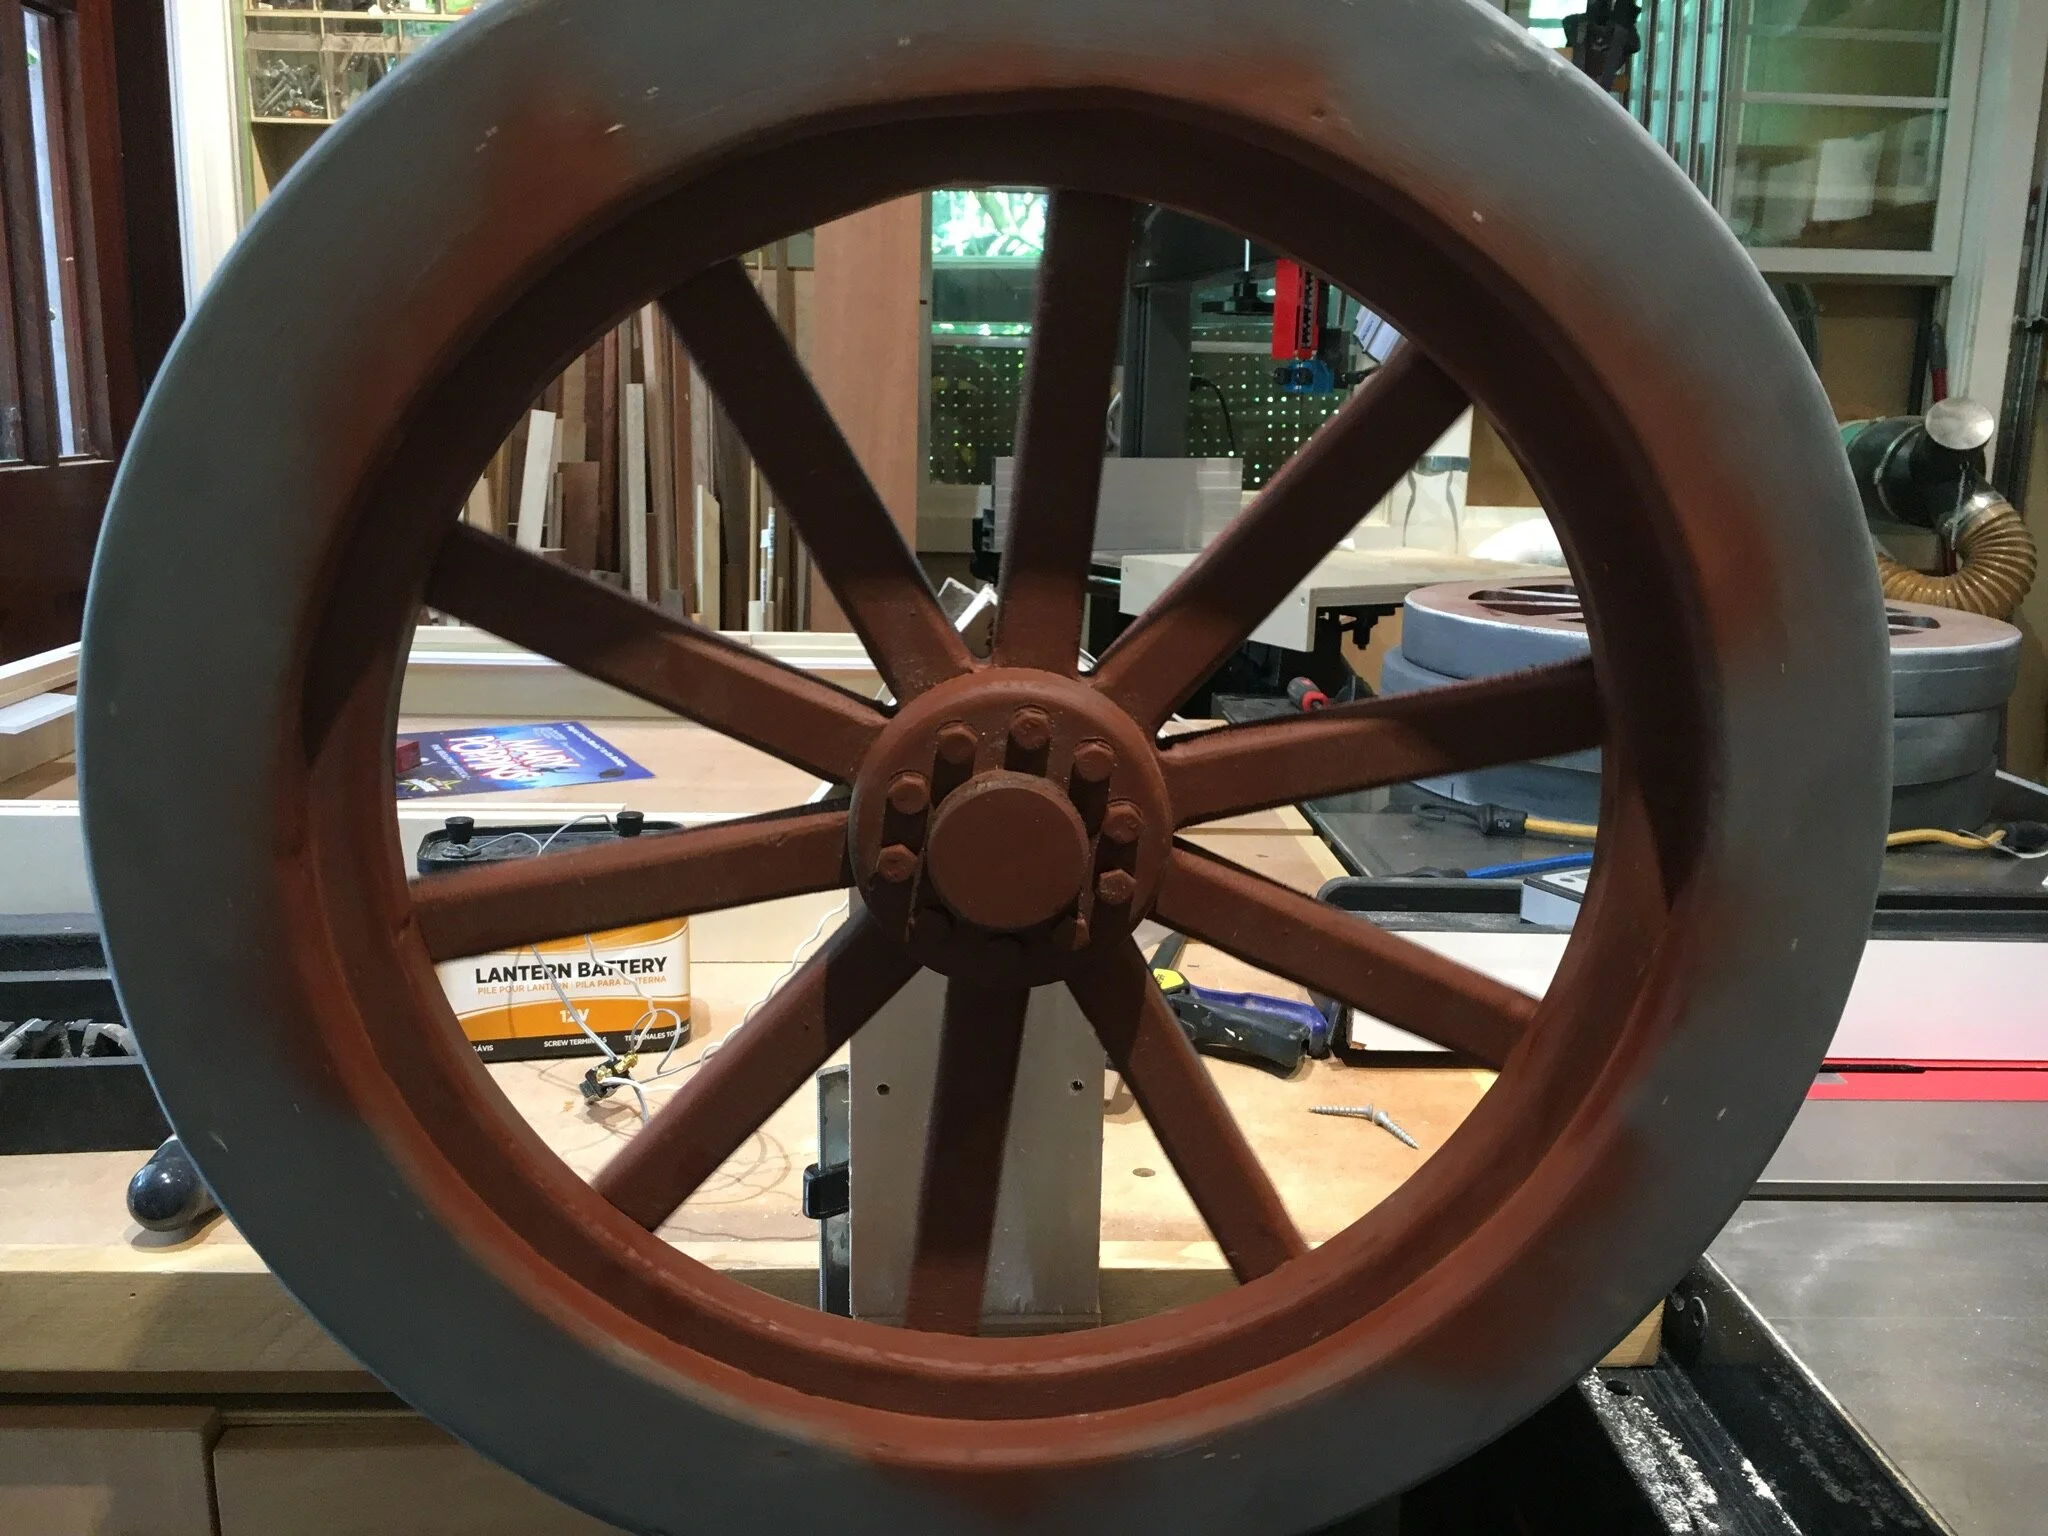
WHEELS
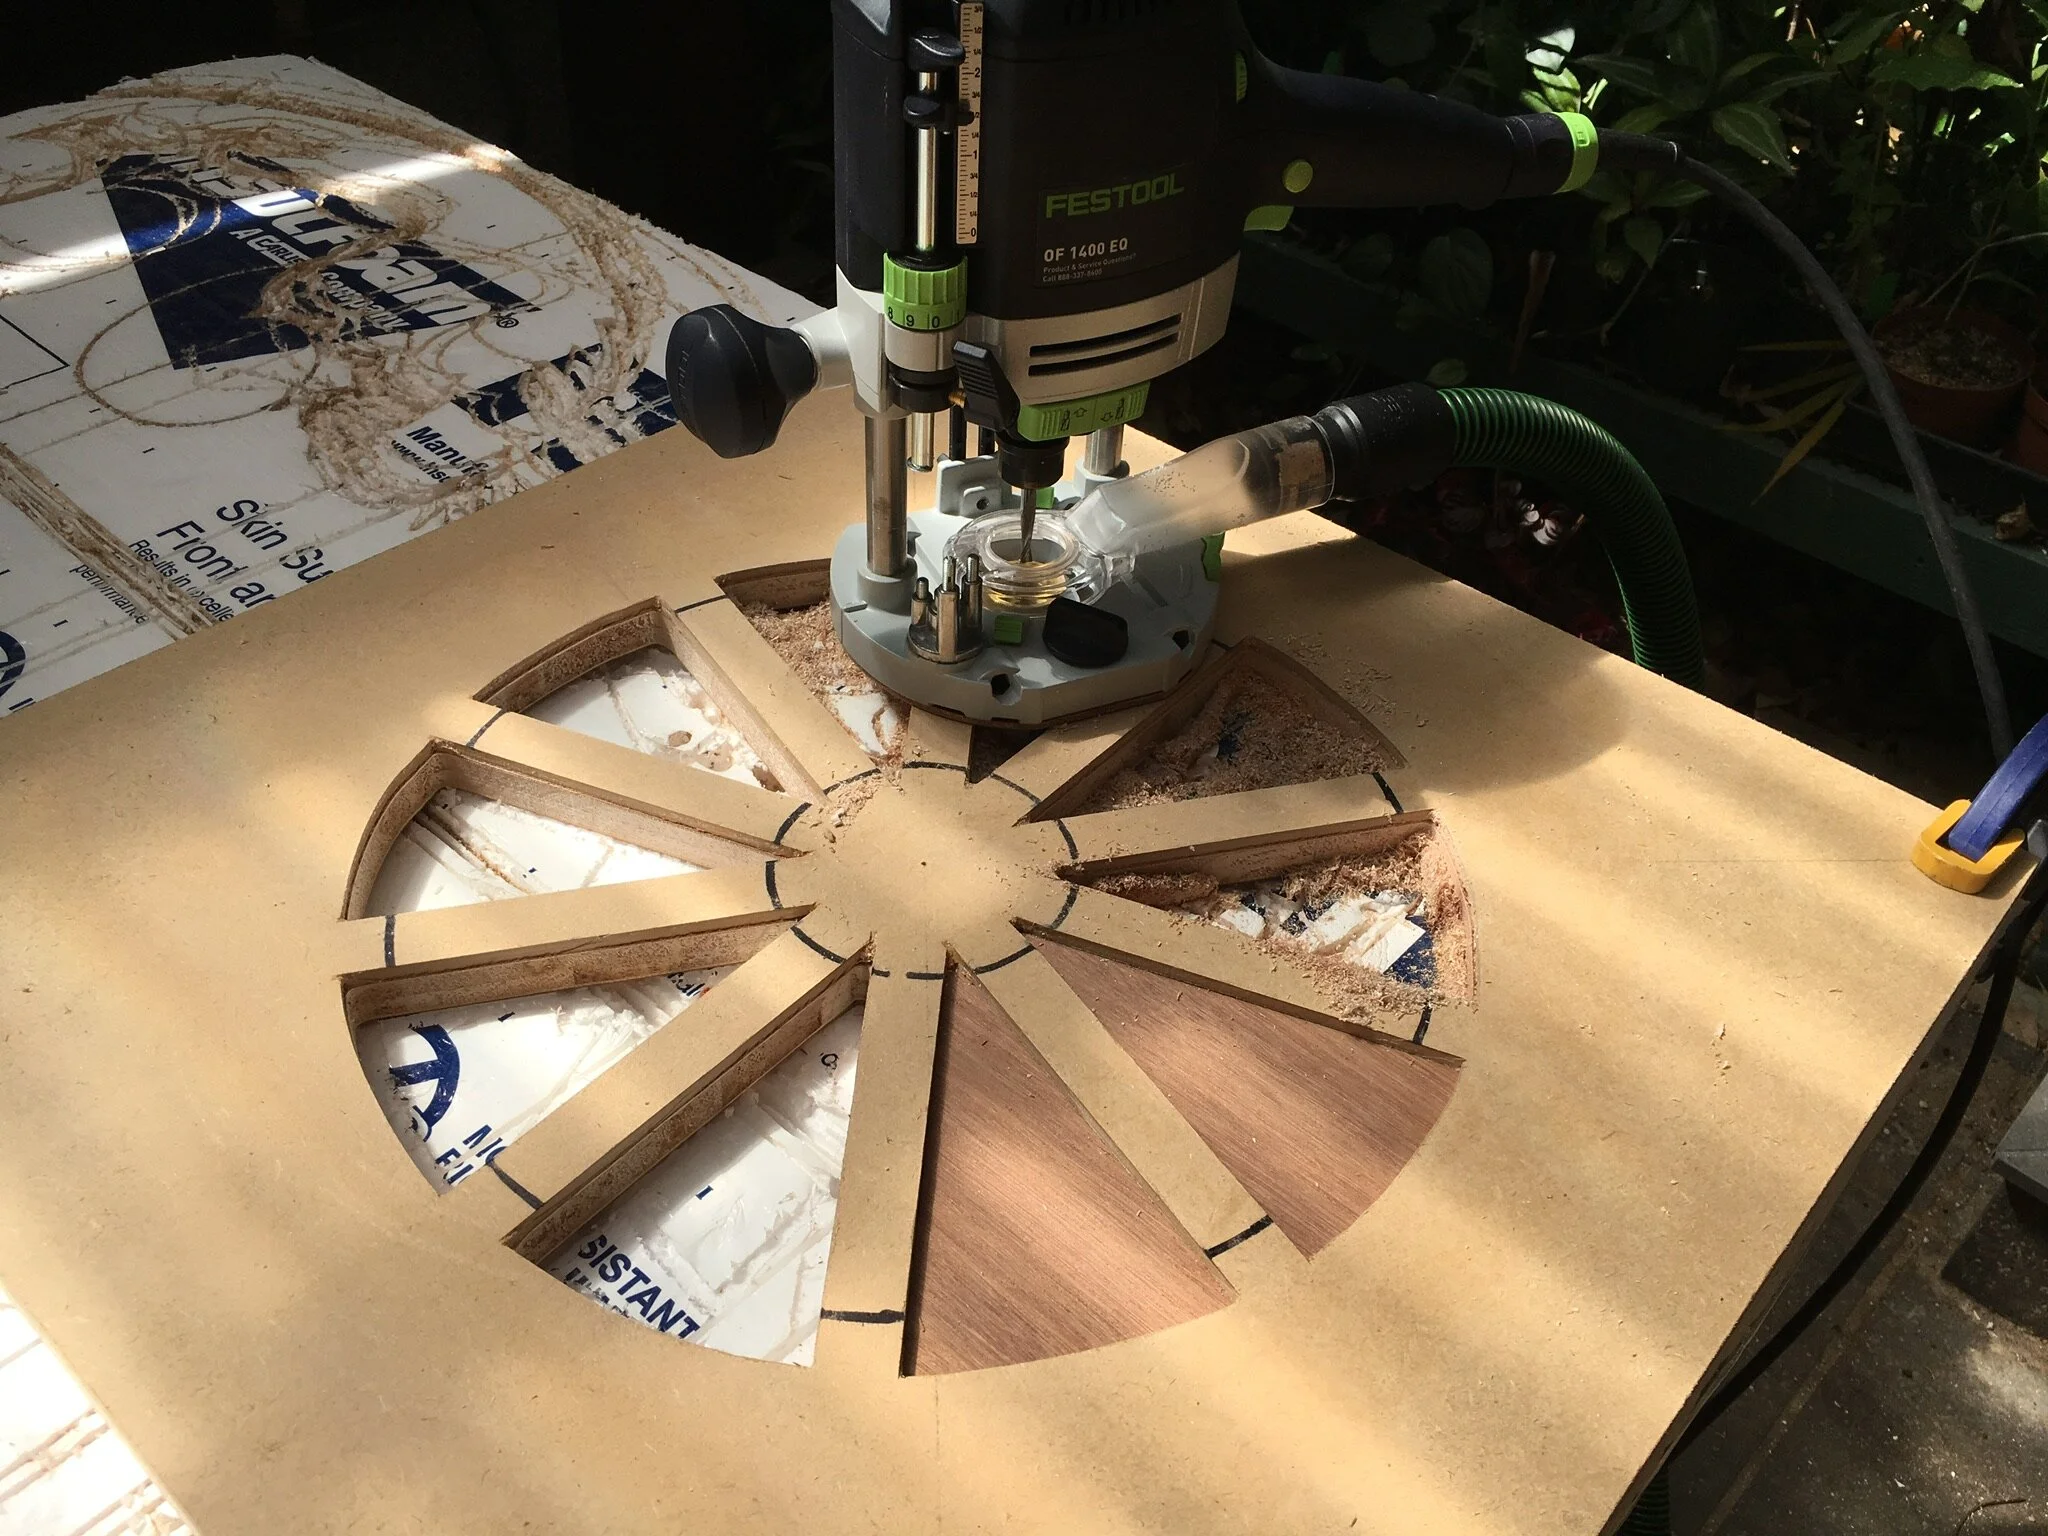
I made a template based on the original tires from the movie car. (this is included on the resources page)
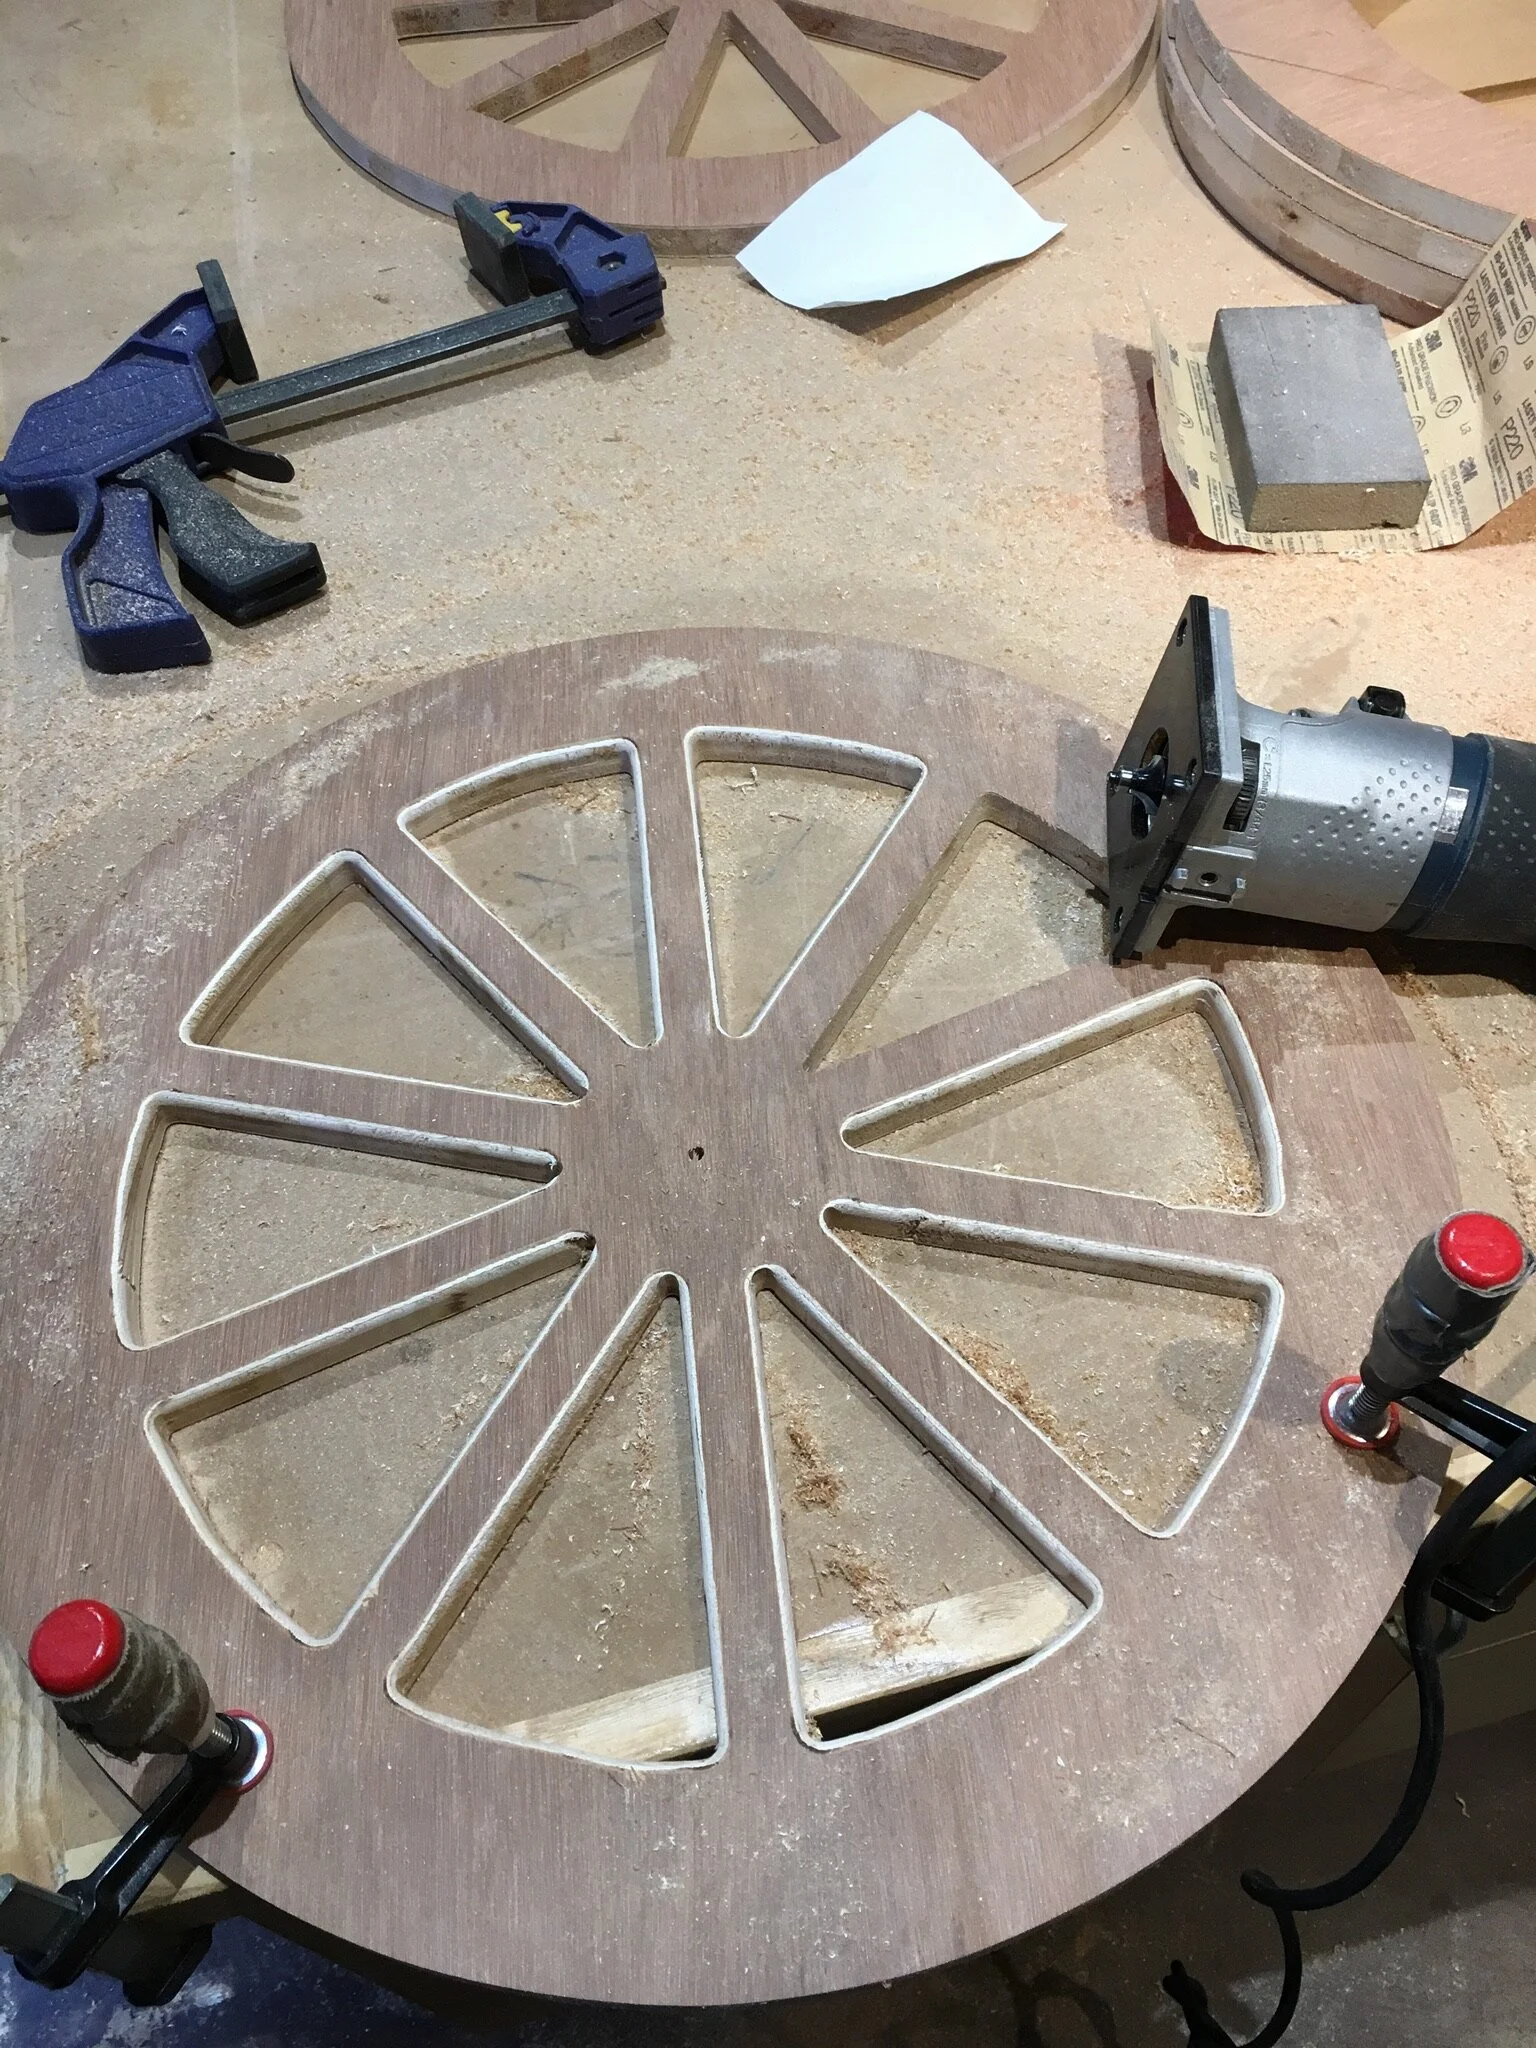
Each tire was made from three layers of fiber core wood. I was hoping this would make them light enough...I was wrong.
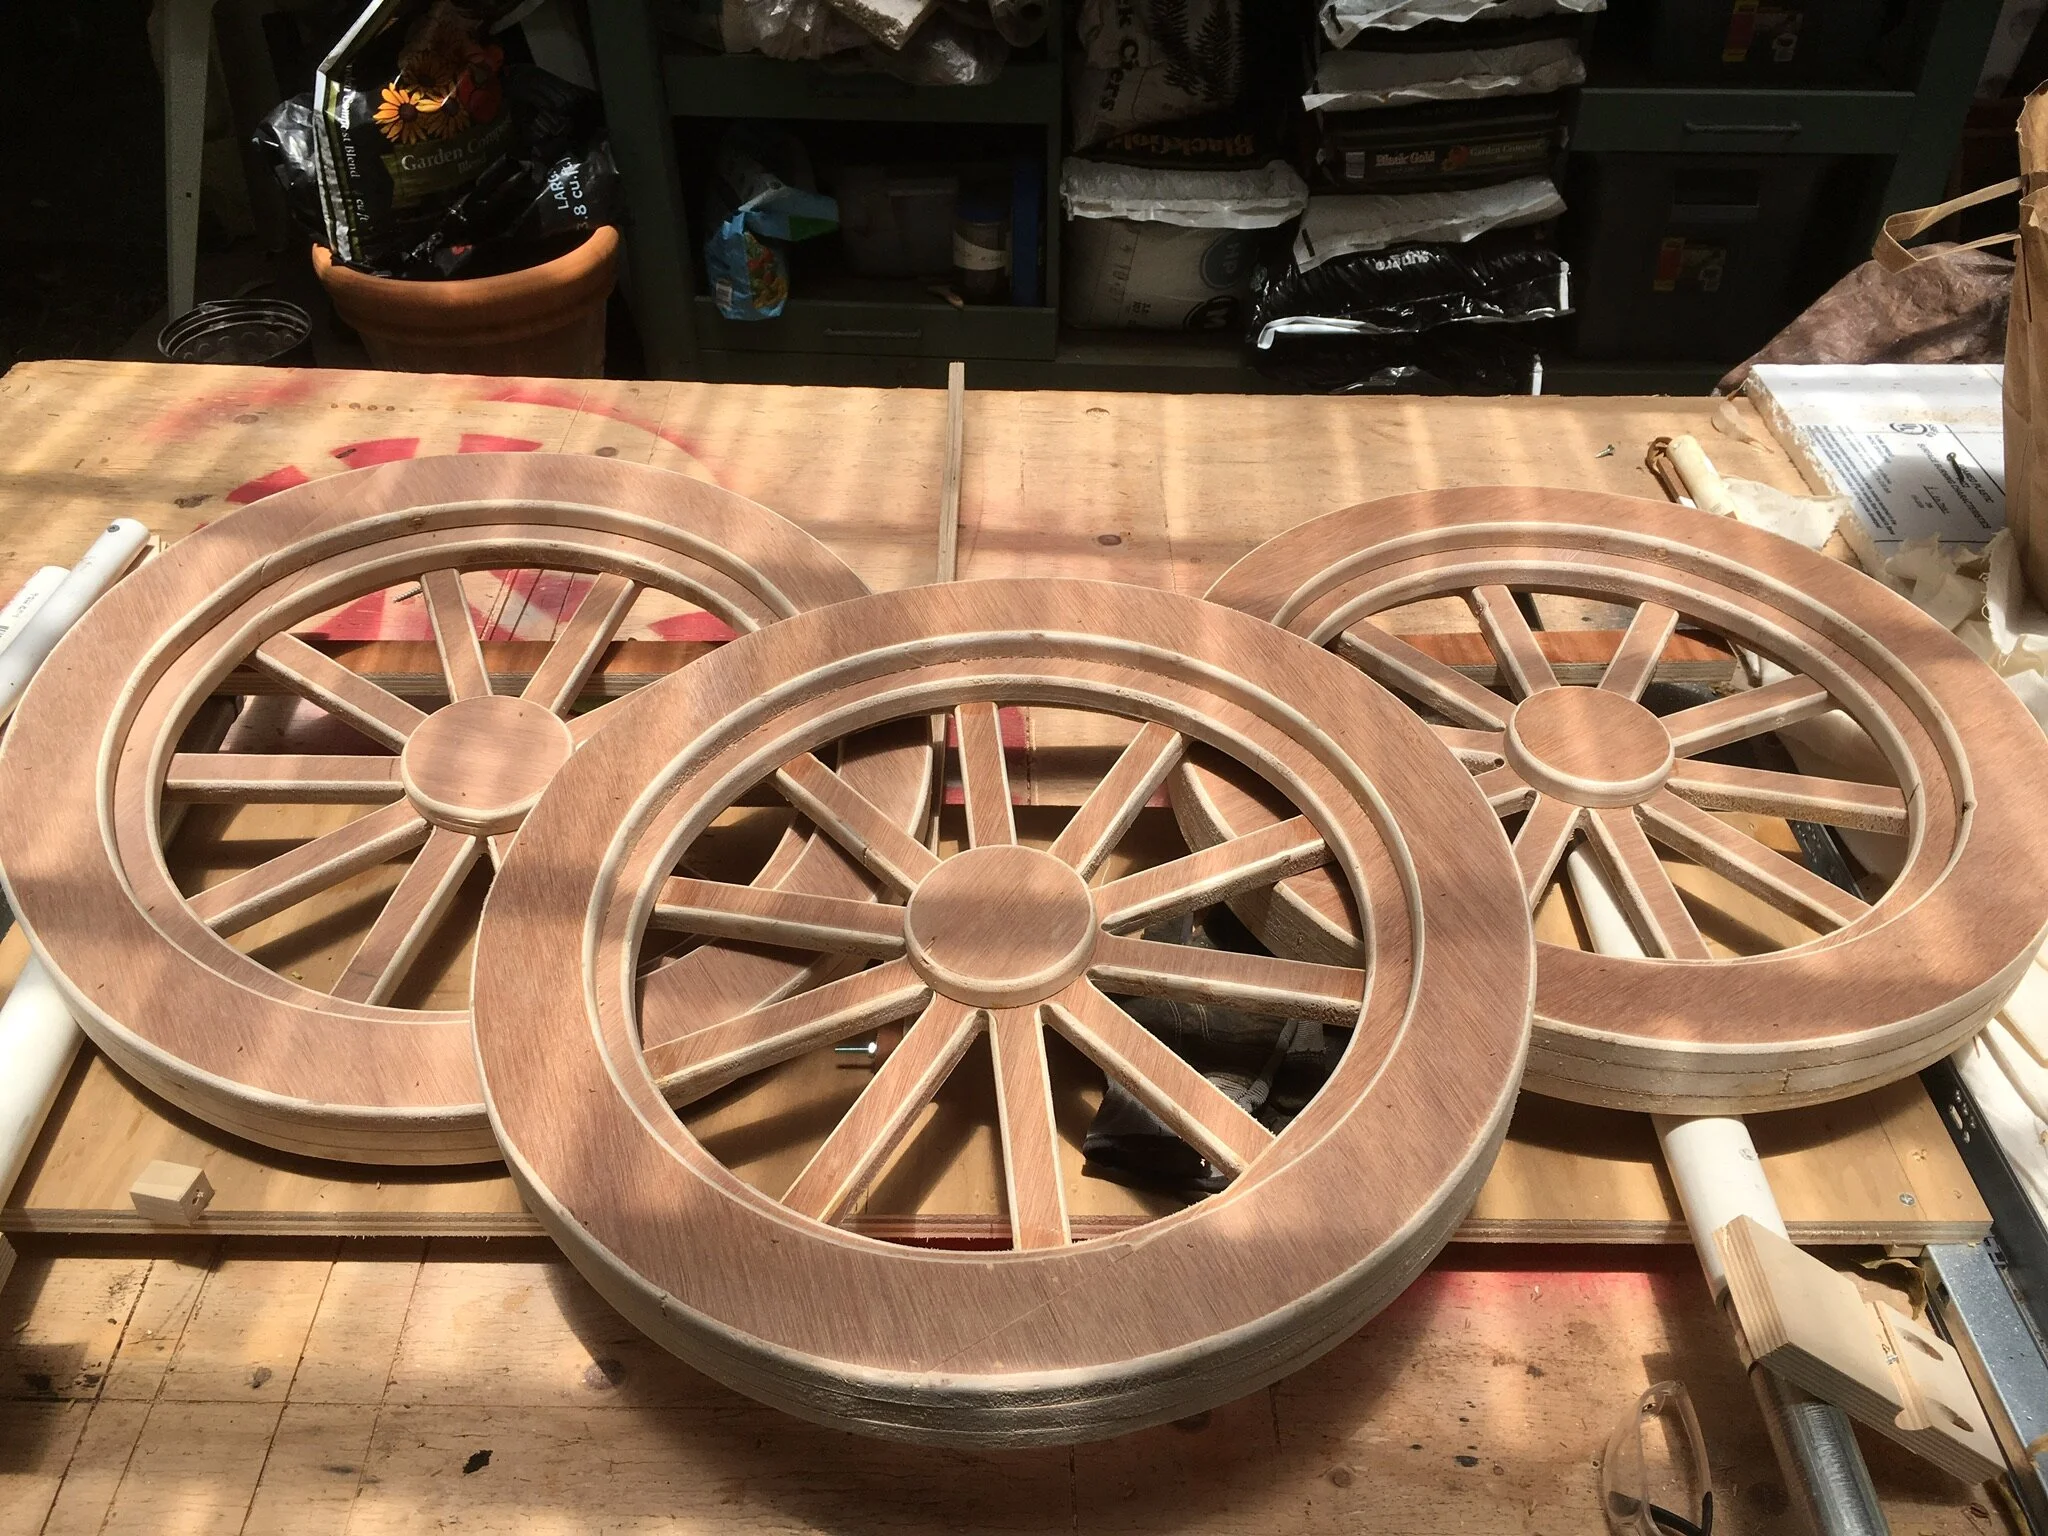
Finished all wood tires.

The design was that all four tires would have their own independent motor, and all four motors would be wired together on to one reversible switch. I used uxcell 30RPM DC 12V Micro Gear Box Motor Speed Reduction Electric Gearbox Eccentric Output Shaft with 6mm Diameter, 15mm Length, M3 Hole Size

Standard lazy susan parts where mounted to the tires to act as axles. I used Square 3" Inch Lazy Susan Turntable Bearing - 5/16" Thick & 200 LB Capacity

Pololu 1083 Universal Aluminum MOUNTING HUB for 6mm Shaft Pair, 4-40 Holes were used to mount the tires to the motors.
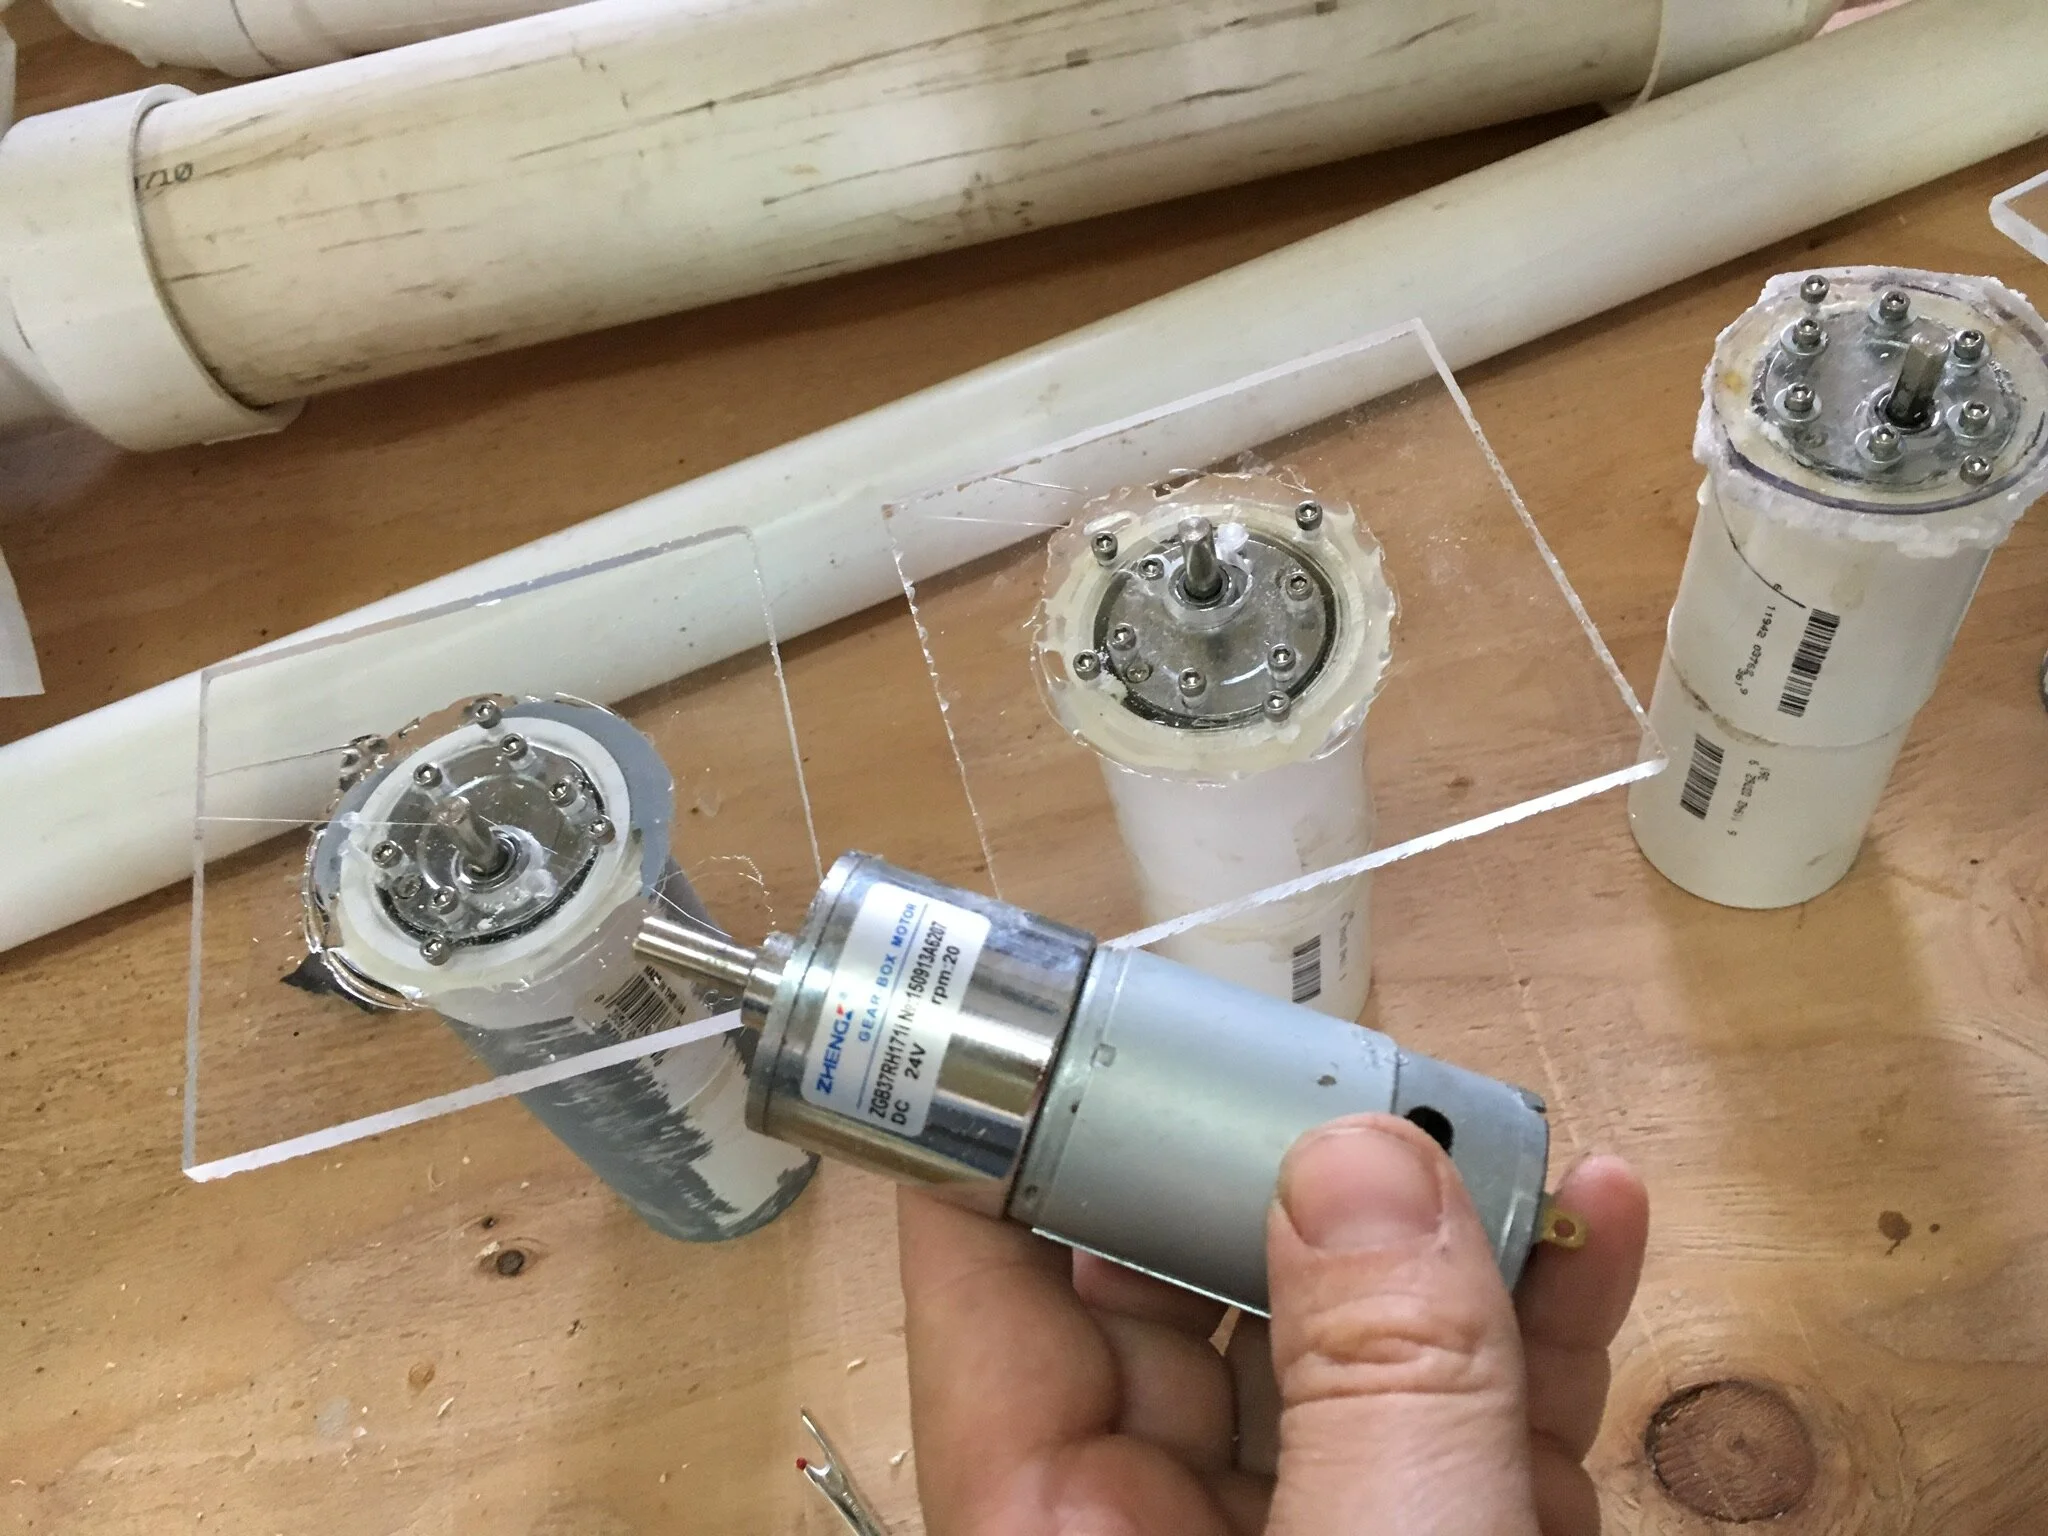
The motors were epoxied onto lucite which was all epoxied onto PVC fittings that would attach to the solid PVC axle.
The original all wood tires proved too heavy for the small motors, so I replaced the tire section with the 2" insulation foam.

Wheel Motor Test
Motor test on wheels. Gives a view of the lazy susan/plexiglass axle setup.

Axle Clearance
Shows the clearance space needed to keep wheels from getting crushed during car tilt.
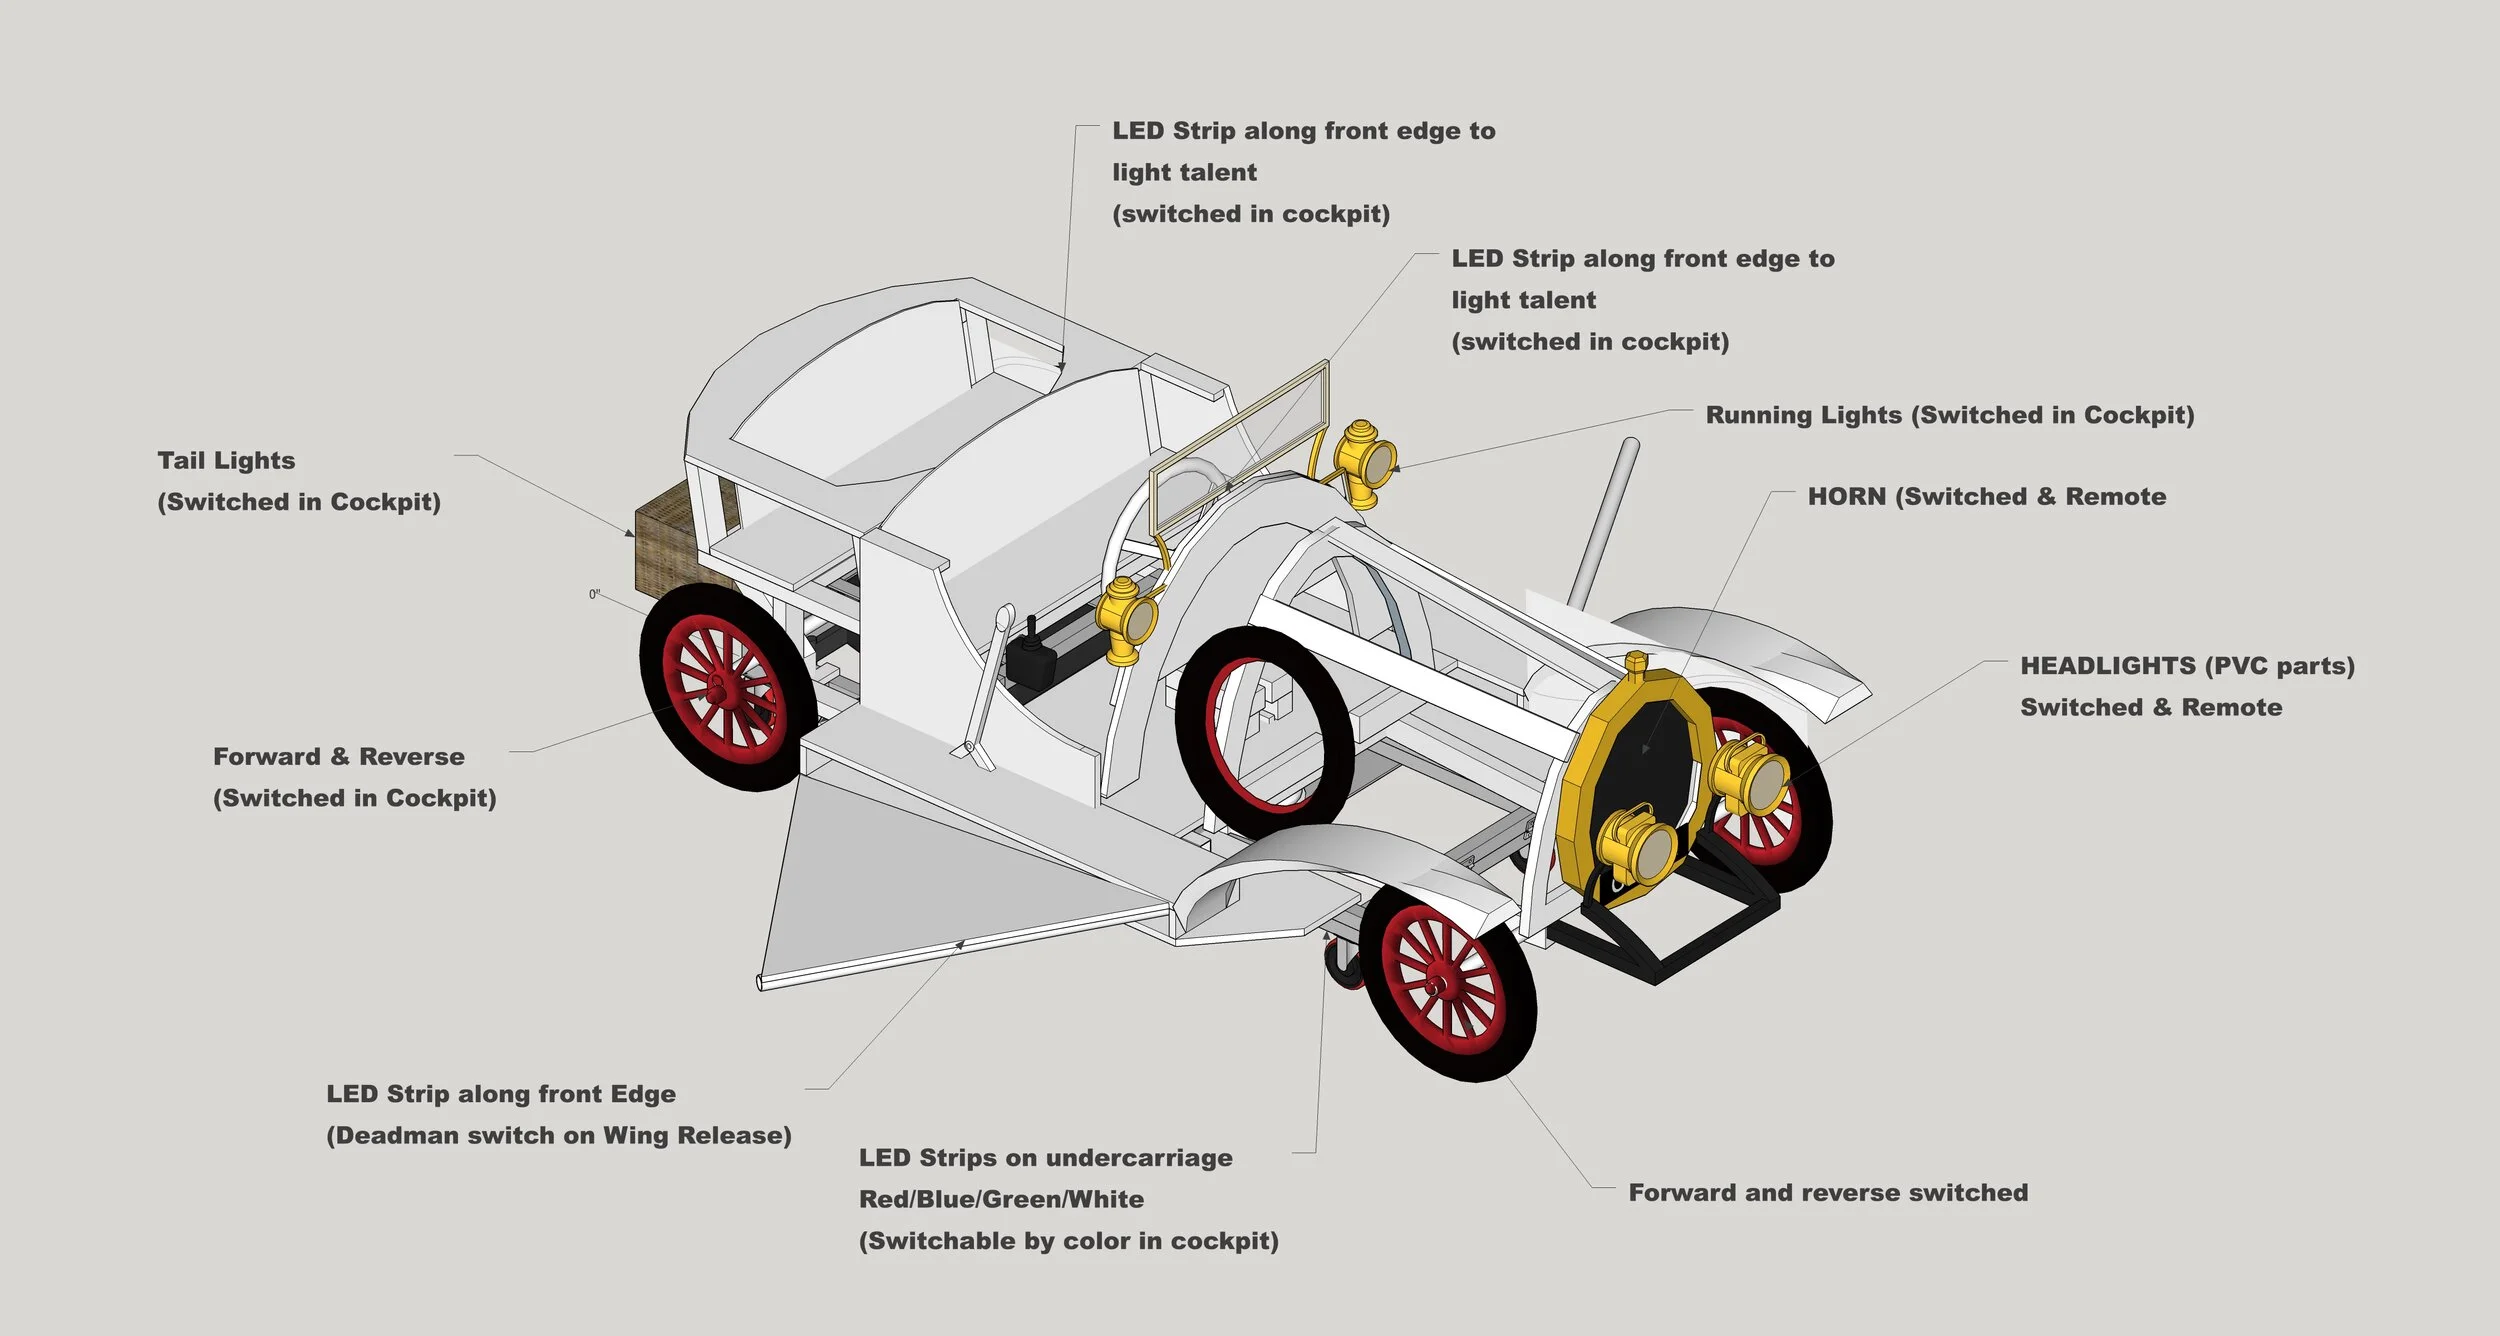
ELECTRICAL
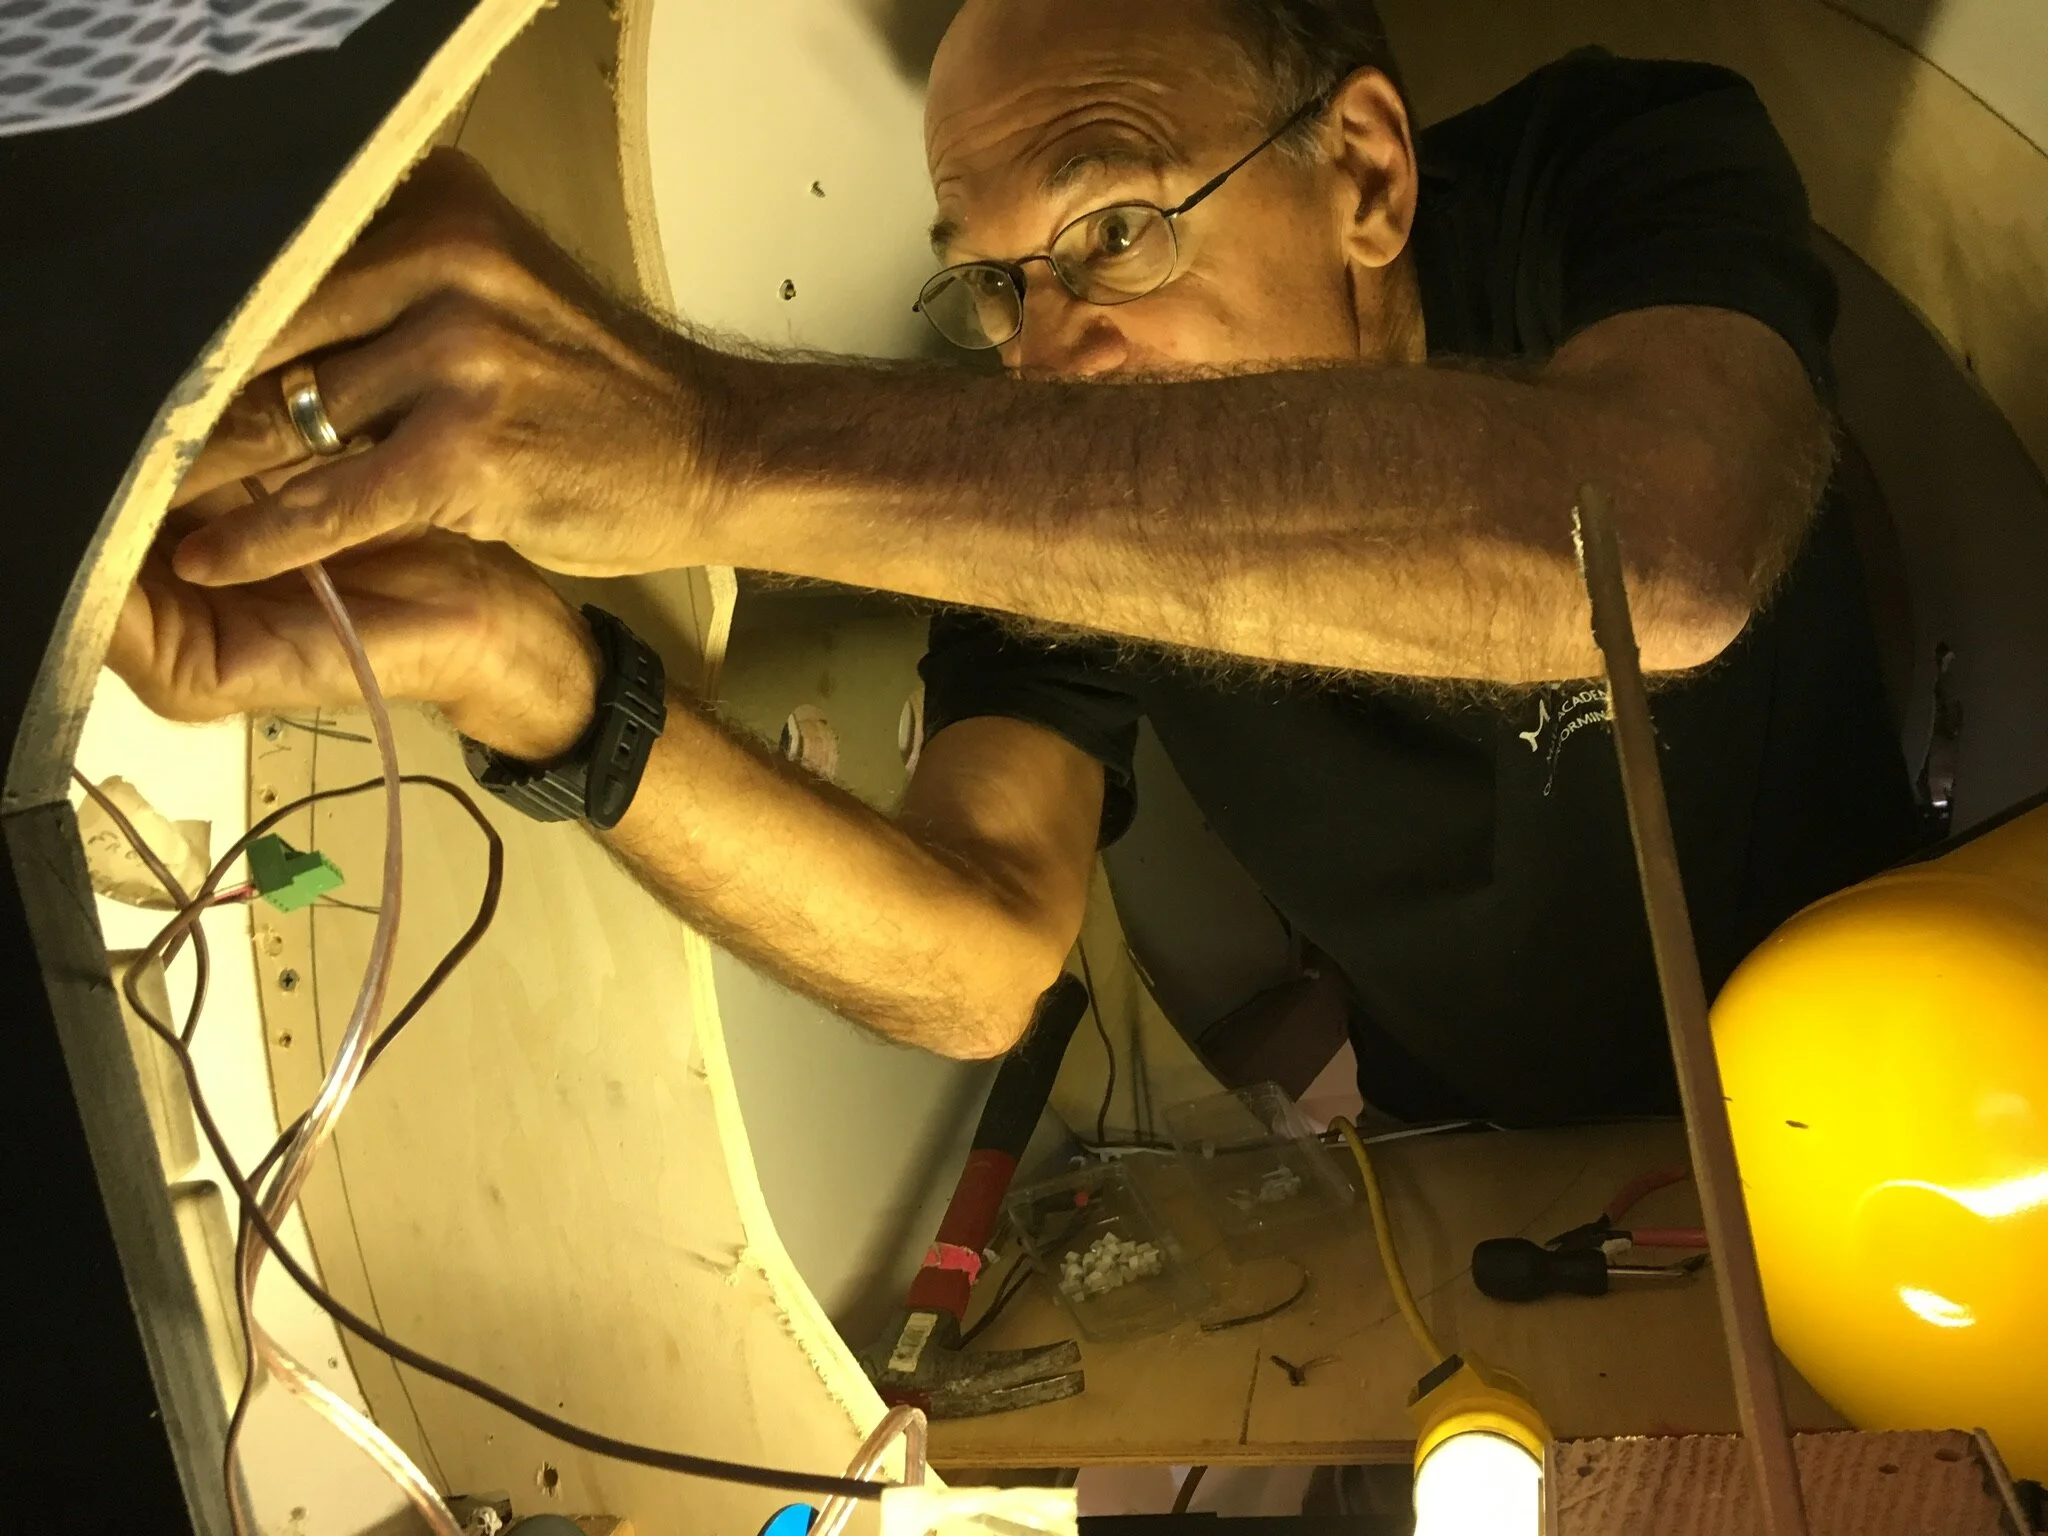
My lead electrician Bob Offerman is a wizard and a luckily a fairly small man who could fit inside the nosecone of the car!
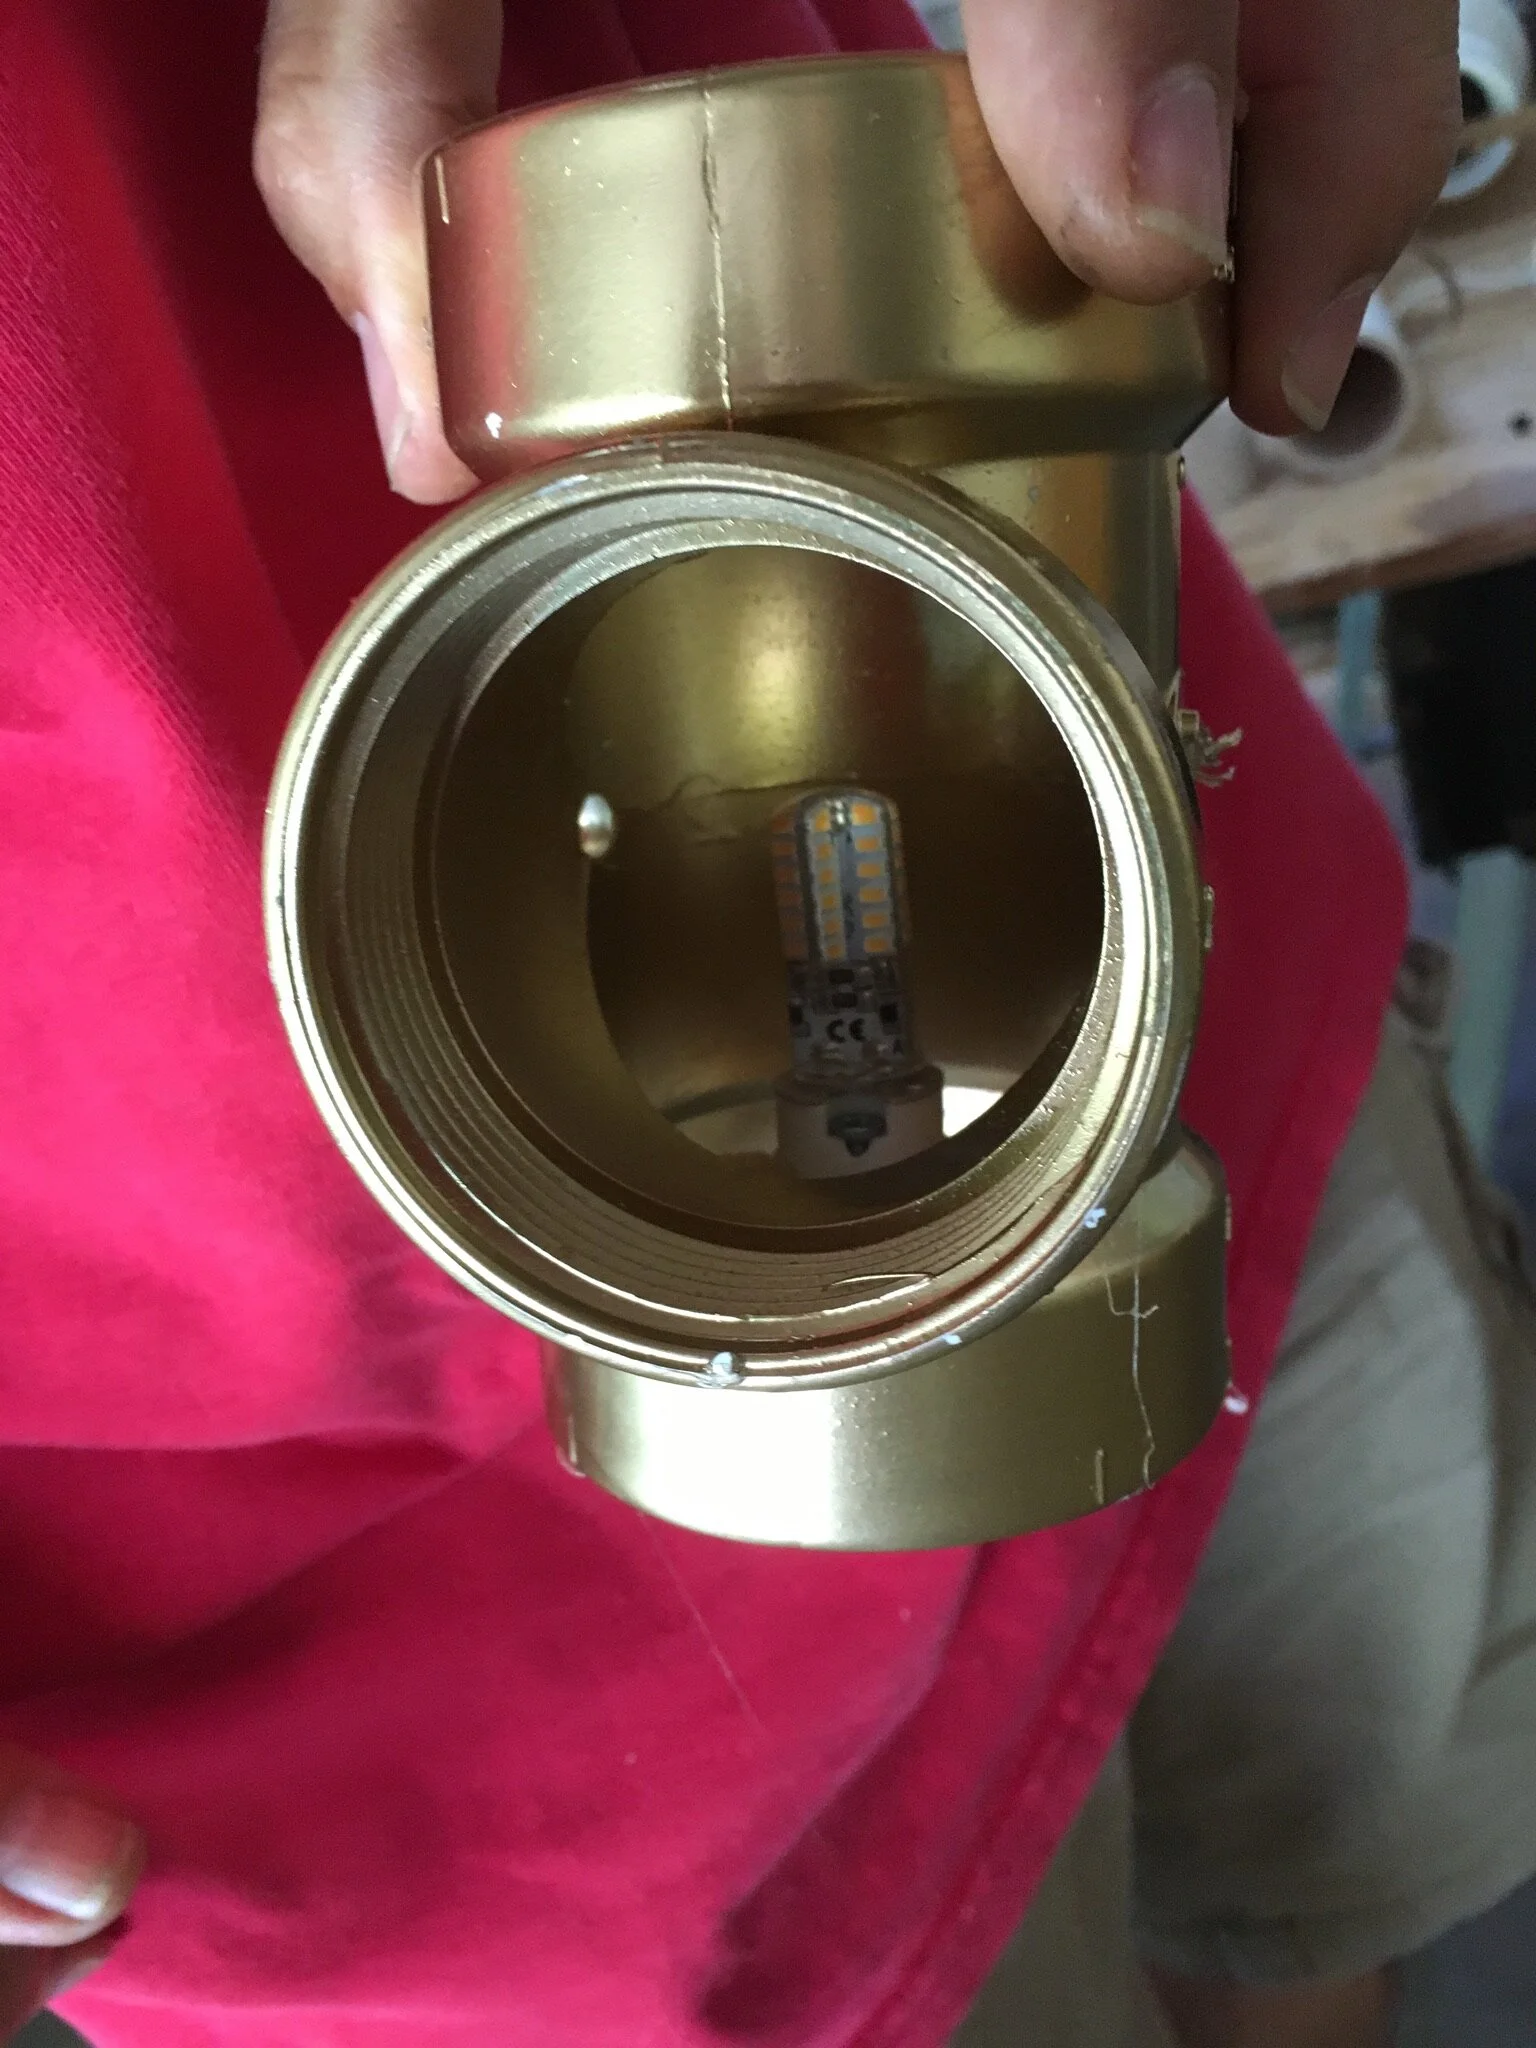
PVC pipe fittings work great for for tail lights. For the headlights I just used some plastic flower pots.

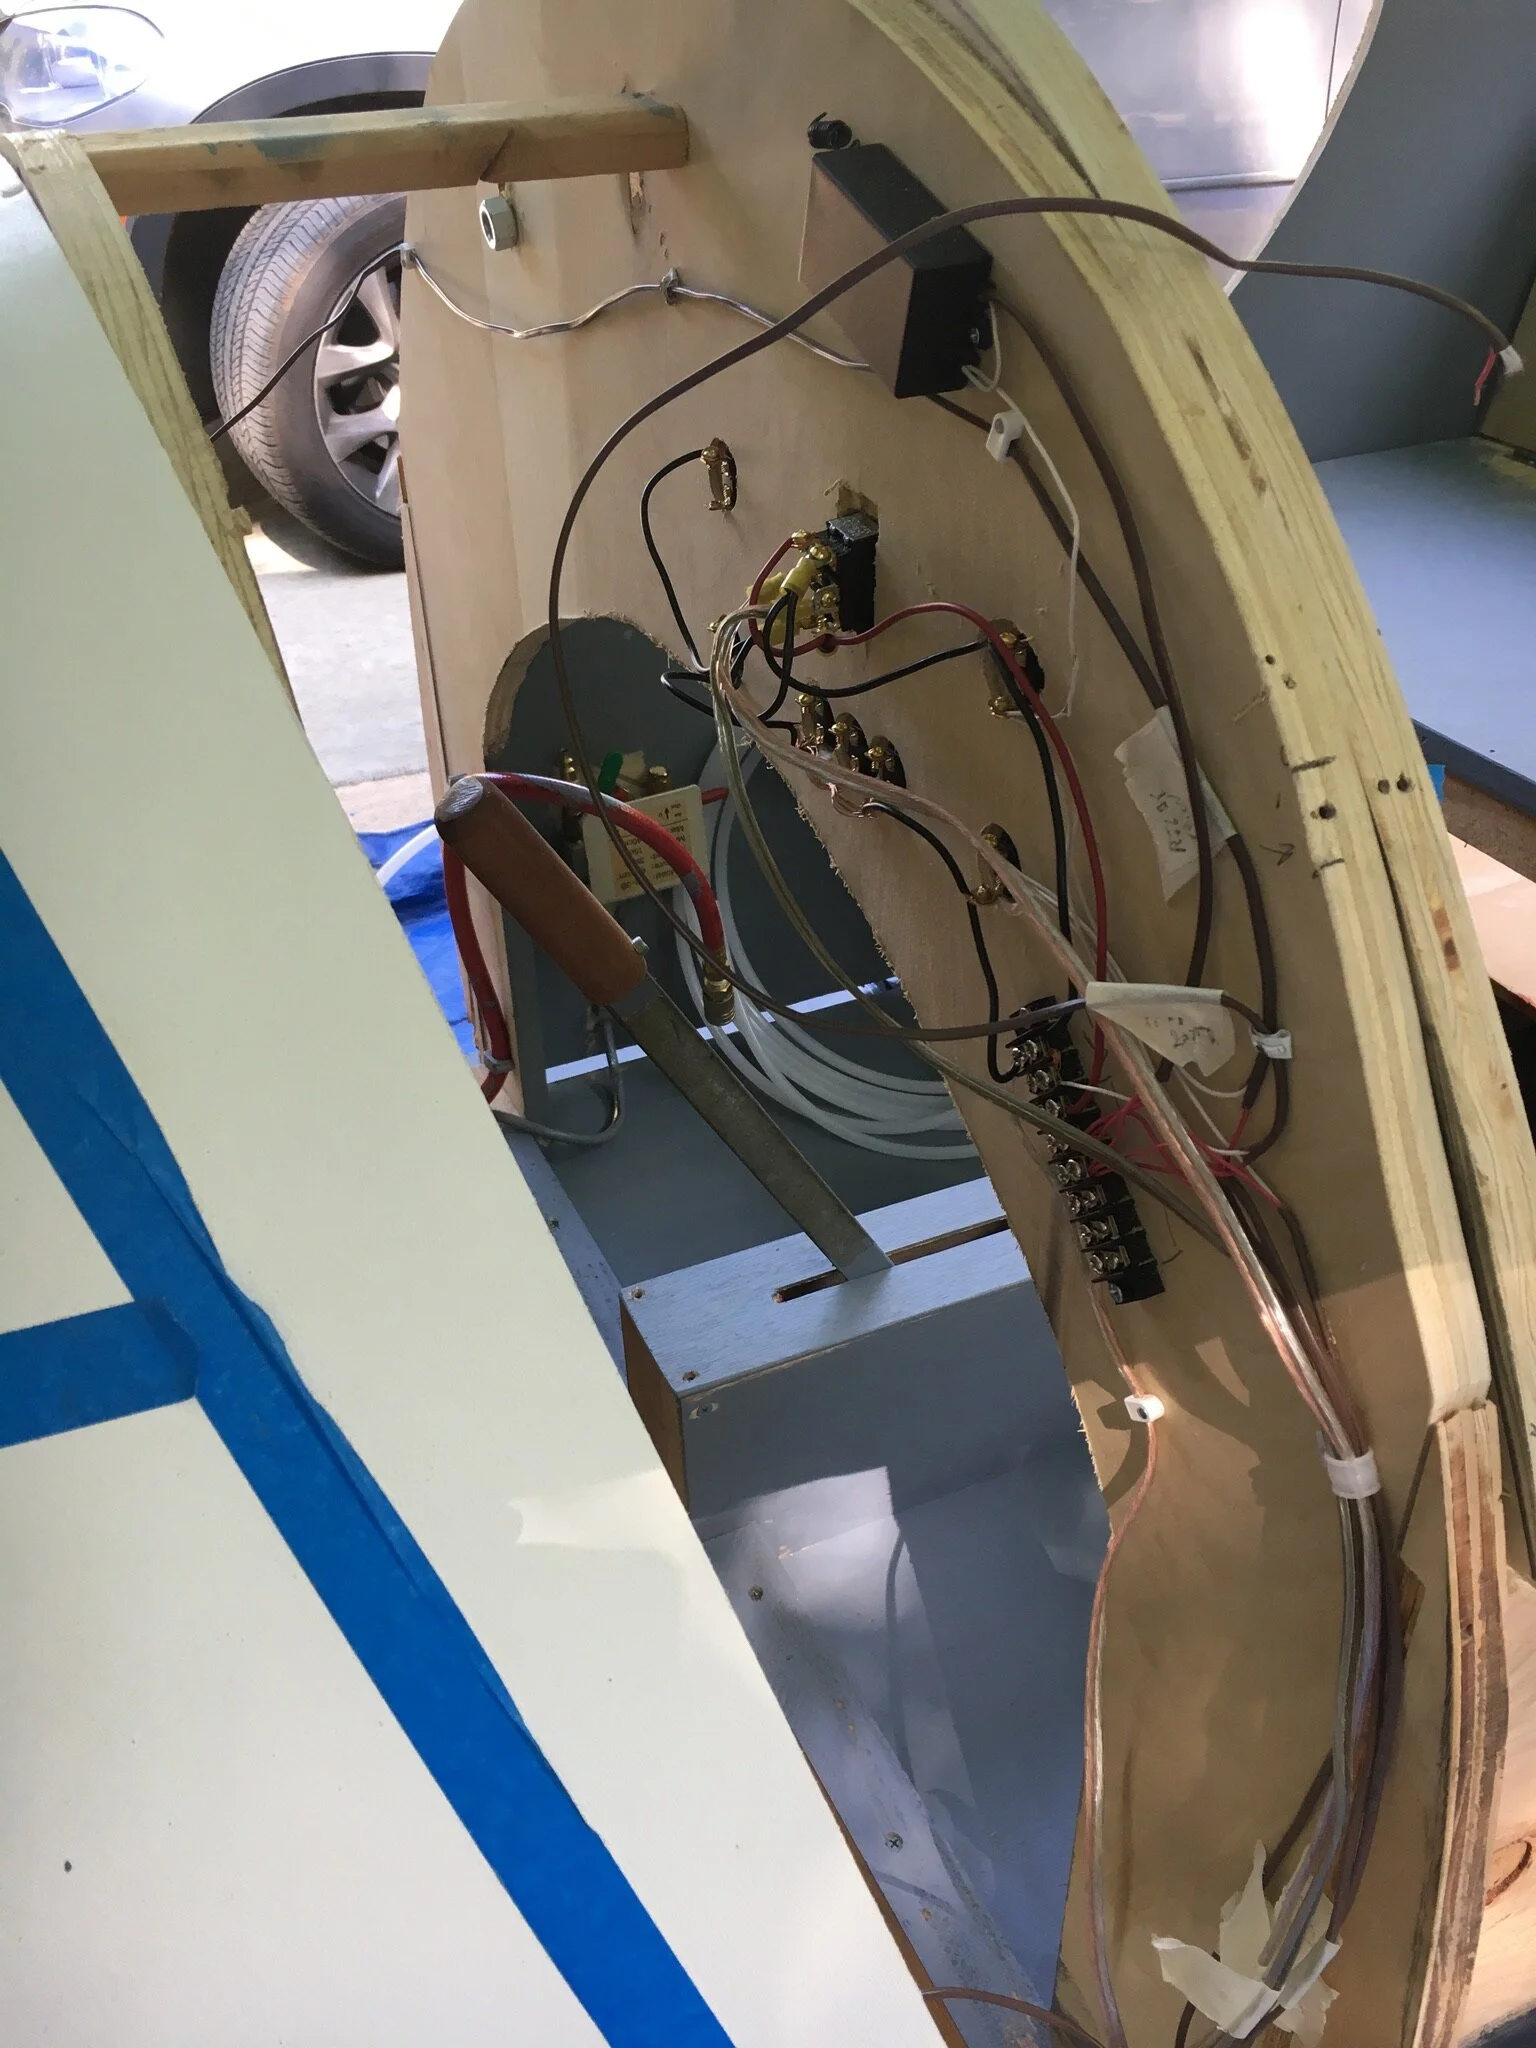
The sheer number of electrics can be daunting , keep in mind, this car can be built with just the headlights, but what fun is that?
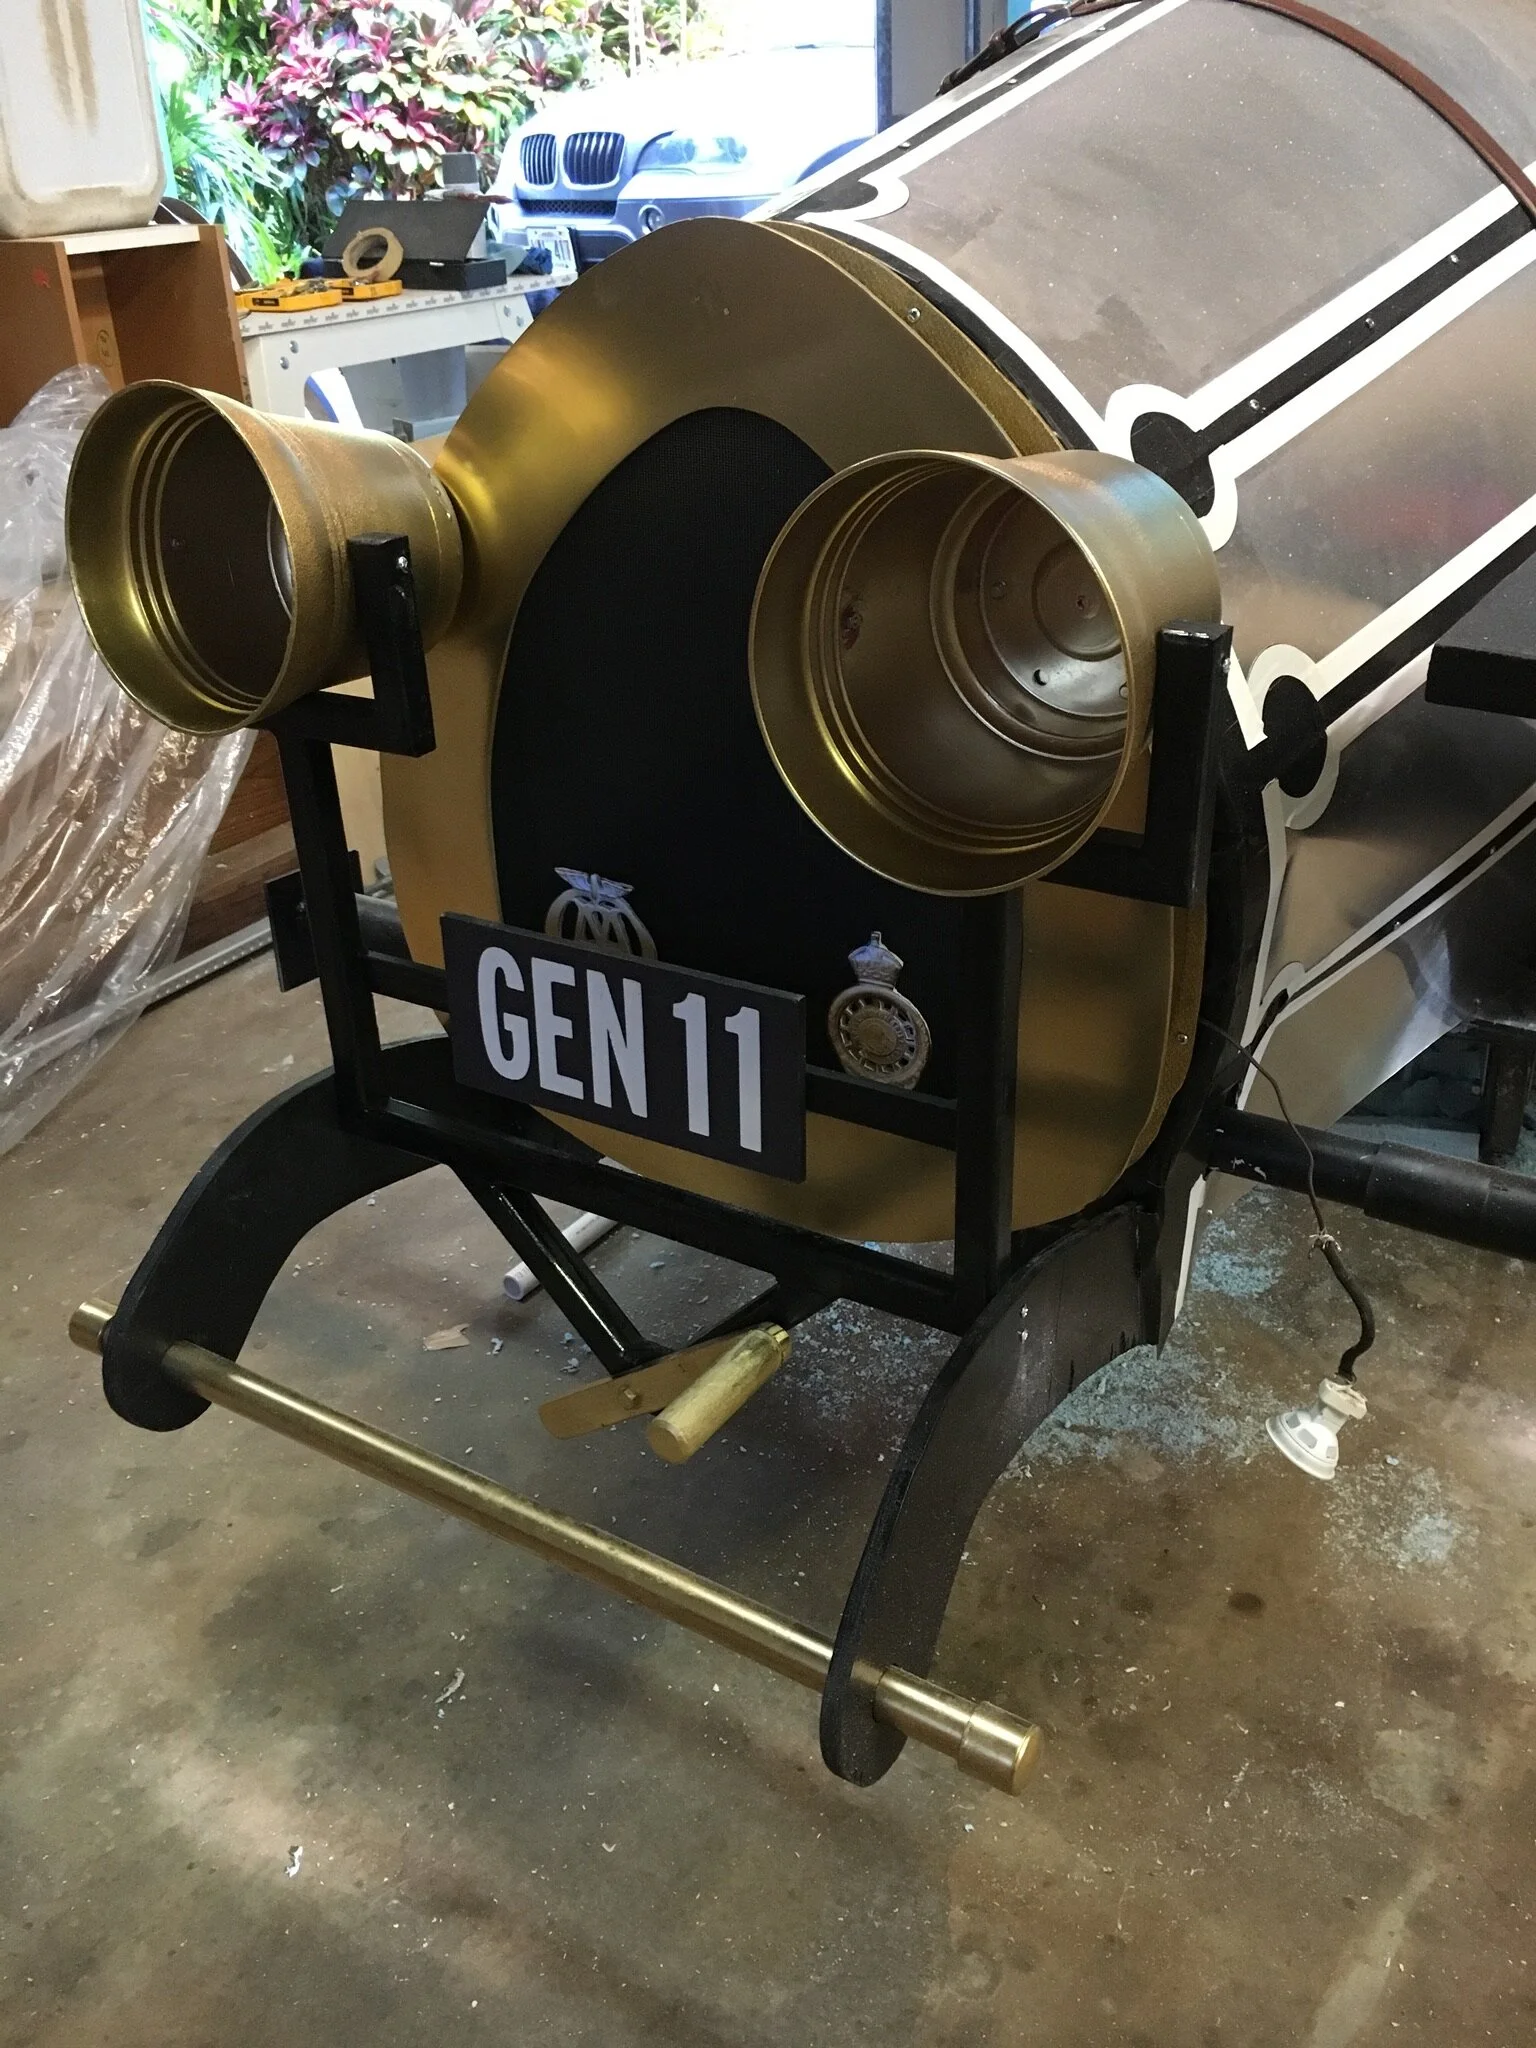
Flower pots for headlights were wired with LED bulbs.
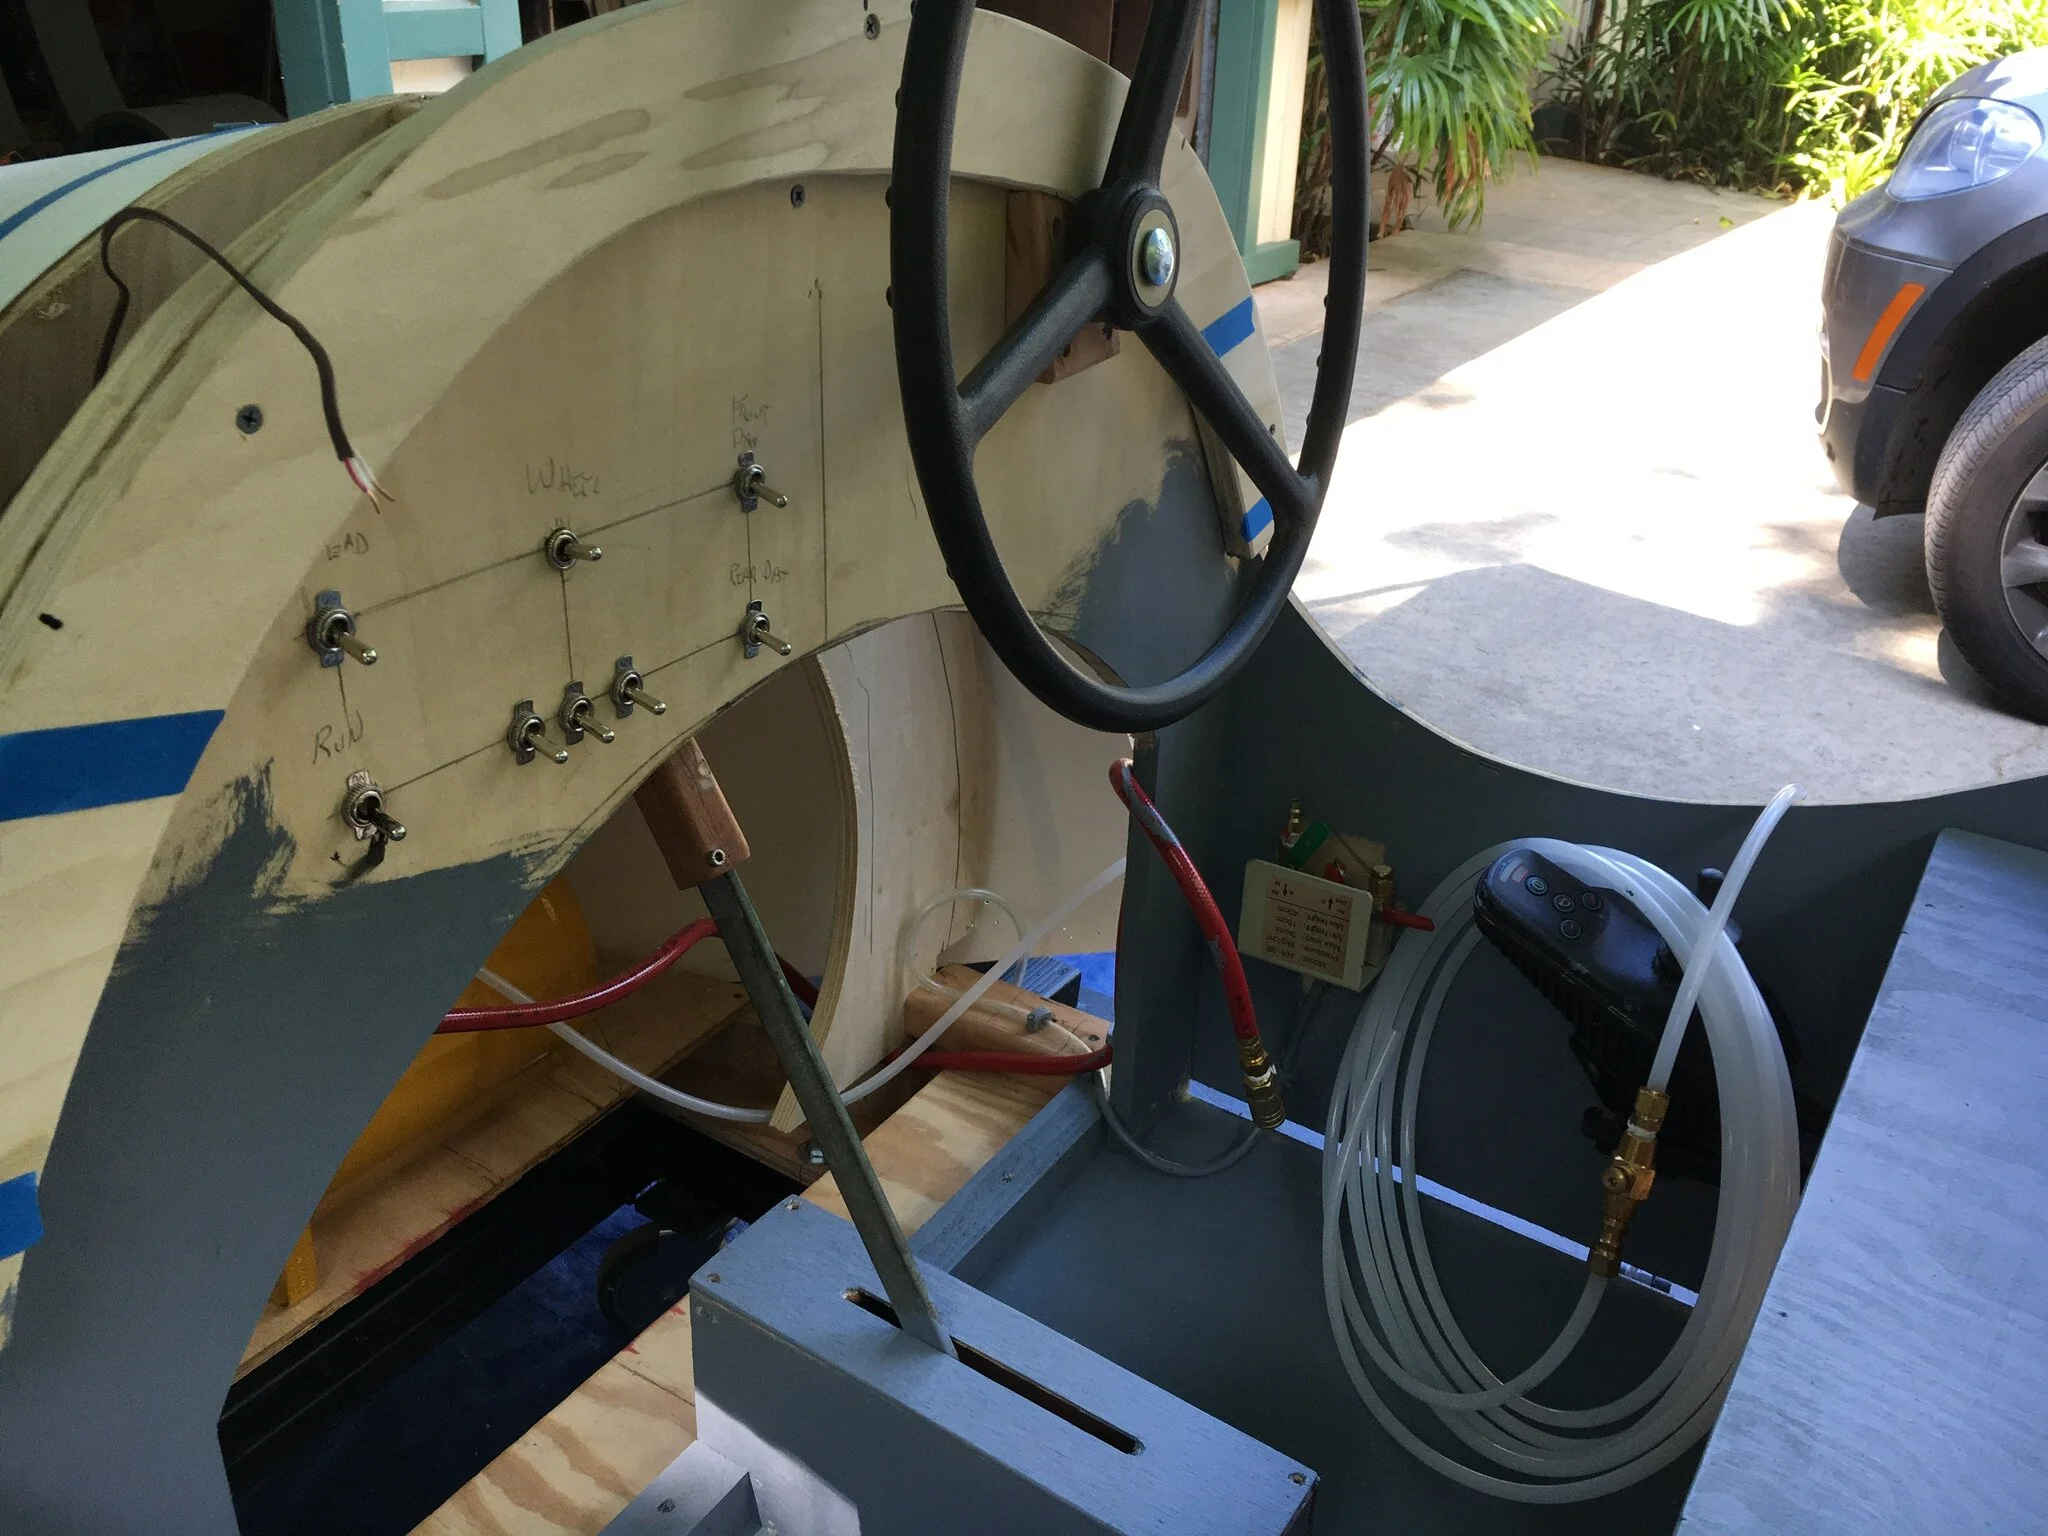
Switches laid out on dash

Final dashboard controls center. It took both actors to run this during the complicated scenes.